DocAve 6 Service Pack 3 Control Panel Reference Guide - AvePoint
DocAve 6 Service Pack 3 Control Panel Reference Guide - AvePoint
DocAve 6 Service Pack 3 Control Panel Reference Guide - AvePoint

You also want an ePaper? Increase the reach of your titles
YUMPU automatically turns print PDFs into web optimized ePapers that Google loves.
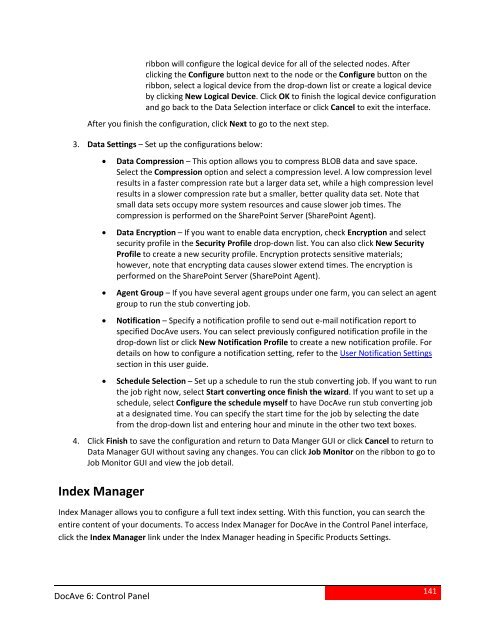
ibbon will configure the logical device for all of the selected nodes. Afterclicking the Configure button next to the node or the Configure button on theribbon, select a logical device from the drop-down list or create a logical deviceby clicking New Logical Device. Click OK to finish the logical device configurationand go back to the Data Selection interface or click Cancel to exit the interface.After you finish the configuration, click Next to go to the next step.3. Data Settings – Set up the configurations below:• Data Compression – This option allows you to compress BLOB data and save space.Select the Compression option and select a compression level. A low compression levelresults in a faster compression rate but a larger data set, while a high compression levelresults in a slower compression rate but a smaller, better quality data set. Note thatsmall data sets occupy more system resources and cause slower job times. Thecompression is performed on the SharePoint Server (SharePoint Agent).• Data Encryption – If you want to enable data encryption, check Encryption and selectsecurity profile in the Security Profile drop-down list. You can also click New SecurityProfile to create a new security profile. Encryption protects sensitive materials;however, note that encrypting data causes slower extend times. The encryption isperformed on the SharePoint Server (SharePoint Agent).• Agent Group – If you have several agent groups under one farm, you can select an agentgroup to run the stub converting job.• Notification – Specify a notification profile to send out e-mail notification report tospecified <strong>DocAve</strong> users. You can select previously configured notification profile in thedrop-down list or click New Notification Profile to create a new notification profile. Fordetails on how to configure a notification setting, refer to the User Notification Settingssection in this user guide.• Schedule Selection – Set up a schedule to run the stub converting job. If you want to runthe job right now, select Start converting once finish the wizard. If you want to set up aschedule, select Configure the schedule myself to have <strong>DocAve</strong> run stub converting jobat a designated time. You can specify the start time for the job by selecting the datefrom the drop-down list and entering hour and minute in the other two text boxes.4. Click Finish to save the configuration and return to Data Manger GUI or click Cancel to return toData Manager GUI without saving any changes. You can click Job Monitor on the ribbon to go toJob Monitor GUI and view the job detail.Index ManagerIndex Manager allows you to configure a full text index setting. With this function, you can search theentire content of your documents. To access Index Manager for <strong>DocAve</strong> in the <strong>Control</strong> <strong>Panel</strong> interface,click the Index Manager link under the Index Manager heading in Specific Products Settings.<strong>DocAve</strong> 6: <strong>Control</strong> <strong>Panel</strong>141