FONIX® 8000 - Frye Electronics
FONIX® 8000 - Frye Electronics
FONIX® 8000 - Frye Electronics
You also want an ePaper? Increase the reach of your titles
YUMPU automatically turns print PDFs into web optimized ePapers that Google loves.
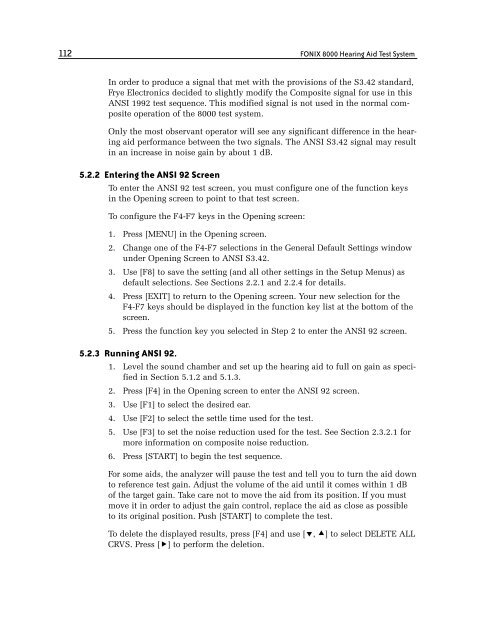
112 FONIX <strong>8000</strong> Hearing Aid Test System<br />
In order to produce a signal that met with the provisions of the S3.42 standard,<br />
<strong>Frye</strong> <strong>Electronics</strong> decided to slightly modify the Composite signal for use in this<br />
ANSI 1992 test sequence. This modified signal is not used in the normal composite<br />
operation of the <strong>8000</strong> test system.<br />
Only the most observant operator will see any significant difference in the hearing<br />
aid performance between the two signals. The ANSI S3.42 signal may result<br />
in an increase in noise gain by about 1 dB.<br />
5.2.2 Entering the ANSI 92 Screen<br />
To enter the ANSI 92 test screen, you must configure one of the function keys<br />
in the Opening screen to point to that test screen.<br />
To configure the F4-F7 keys in the Opening screen:<br />
1. Press [MENU] in the Opening screen.<br />
2. Change one of the F4-F7 selections in the General Default Settings window<br />
under Opening Screen to ANSI S3.42.<br />
3. Use [F8] to save the setting (and all other settings in the Setup Menus) as<br />
default selections. See Sections 2.2.1 and 2.2.4 for details.<br />
4. Press [EXIT] to return to the Opening screen. Your new selection for the<br />
F4-F7 keys should be displayed in the function key list at the bottom of the<br />
screen.<br />
5. Press the function key you selected in Step 2 to enter the ANSI 92 screen.<br />
5.2.3 Running ANSI 92.<br />
1. Level the sound chamber and set up the hearing aid to full on gain as specified<br />
in Section 5.1.2 and 5.1.3.<br />
2. Press [F4] in the Opening screen to enter the ANSI 92 screen.<br />
3. Use [F1] to select the desired ear.<br />
4. Use [F2] to select the settle time used for the test.<br />
5. Use [F3] to set the noise reduction used for the test. See Section 2.3.2.1 for<br />
more information on composite noise reduction.<br />
6. Press [START] to begin the test sequence.<br />
For some aids, the analyzer will pause the test and tell you to turn the aid down<br />
to reference test gain. Adjust the volume of the aid until it comes within 1 dB<br />
of the target gain. Take care not to move the aid from its position. If you must<br />
move it in order to adjust the gain control, replace the aid as close as possible<br />
to its original position. Push [START] to complete the test.<br />
To delete the displayed results, press [F4] and use [, ] to select DELETE ALL<br />
CRVS. Press [] to perform the deletion.


