FONIX® 8000 - Frye Electronics
FONIX® 8000 - Frye Electronics
FONIX® 8000 - Frye Electronics
You also want an ePaper? Increase the reach of your titles
YUMPU automatically turns print PDFs into web optimized ePapers that Google loves.
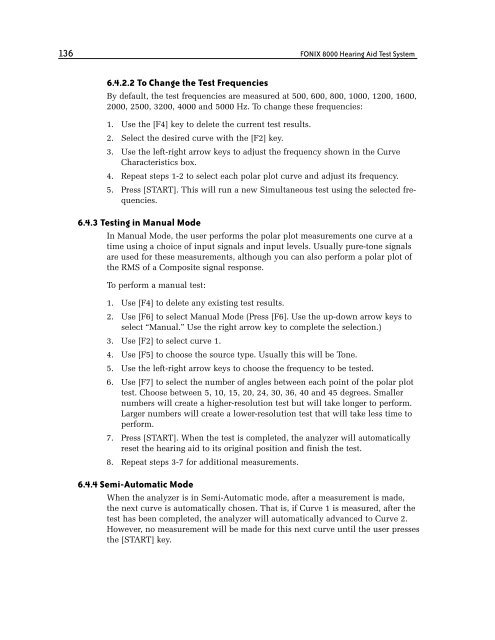
136 FONIX <strong>8000</strong> Hearing Aid Test System<br />
6.4.2.2 To Change the Test Frequencies<br />
By default, the test frequencies are measured at 500, 600, 800, 1000, 1200, 1600,<br />
2000, 2500, 3200, 4000 and 5000 Hz. To change these frequencies:<br />
1. Use the [F4] key to delete the current test results.<br />
2. Select the desired curve with the [F2] key.<br />
3. Use the left-right arrow keys to adjust the frequency shown in the Curve<br />
Characteristics box.<br />
4. Repeat steps 1-2 to select each polar plot curve and adjust its frequency.<br />
5. Press [START]. This will run a new Simultaneous test using the selected frequencies.<br />
6.4.3 Testing in Manual Mode<br />
In Manual Mode, the user performs the polar plot measurements one curve at a<br />
time using a choice of input signals and input levels. Usually pure-tone signals<br />
are used for these measurements, although you can also perform a polar plot of<br />
the RMS of a Composite signal response.<br />
To perform a manual test:<br />
1. Use [F4] to delete any existing test results.<br />
2. Use [F6] to select Manual Mode (Press [F6]. Use the up-down arrow keys to<br />
select “Manual.” Use the right arrow key to complete the selection.)<br />
3. Use [F2] to select curve 1.<br />
4. Use [F5] to choose the source type. Usually this will be Tone.<br />
5. Use the left-right arrow keys to choose the frequency to be tested.<br />
6. Use [F7] to select the number of angles between each point of the polar plot<br />
test. Choose between 5, 10, 15, 20, 24, 30, 36, 40 and 45 degrees. Smaller<br />
numbers will create a higher-resolution test but will take longer to perform.<br />
Larger numbers will create a lower-resolution test that will take less time to<br />
perform.<br />
7. Press [START]. When the test is completed, the analyzer will automatically<br />
reset the hearing aid to its original position and finish the test.<br />
8. Repeat steps 3-7 for additional measurements.<br />
6.4.4 Semi-Automatic Mode<br />
When the analyzer is in Semi-Automatic mode, after a measurement is made,<br />
the next curve is automatically chosen. That is, if Curve 1 is measured, after the<br />
test has been completed, the analyzer will automatically advanced to Curve 2.<br />
However, no measurement will be made for this next curve until the user presses<br />
the [START] key.


