FONIX® 8000 - Frye Electronics
FONIX® 8000 - Frye Electronics
FONIX® 8000 - Frye Electronics
You also want an ePaper? Increase the reach of your titles
YUMPU automatically turns print PDFs into web optimized ePapers that Google loves.
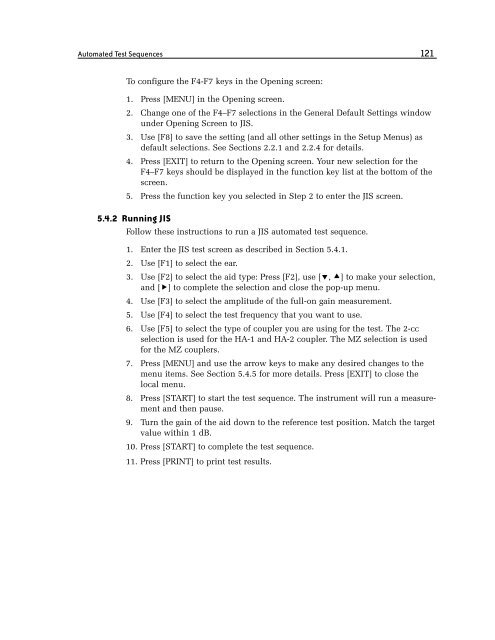
Automated Test Sequences 121<br />
To configure the F4-F7 keys in the Opening screen:<br />
1. Press [MENU] in the Opening screen.<br />
2. Change one of the F4–F7 selections in the General Default Settings window<br />
under Opening Screen to JIS.<br />
3. Use [F8] to save the setting (and all other settings in the Setup Menus) as<br />
default selections. See Sections 2.2.1 and 2.2.4 for details.<br />
4. Press [EXIT] to return to the Opening screen. Your new selection for the<br />
F4–F7 keys should be displayed in the function key list at the bottom of the<br />
screen.<br />
5. Press the function key you selected in Step 2 to enter the JIS screen.<br />
5.4.2 Running JIS<br />
Follow these instructions to run a JIS automated test sequence.<br />
1. Enter the JIS test screen as described in Section 5.4.1.<br />
2. Use [F1] to select the ear.<br />
3. Use [F2] to select the aid type: Press [F2], use [, ] to make your selection,<br />
and [] to complete the selection and close the pop-up menu.<br />
4. Use [F3] to select the amplitude of the full-on gain measurement.<br />
5. Use [F4] to select the test frequency that you want to use.<br />
6. Use [F5] to select the type of coupler you are using for the test. The 2-cc<br />
selection is used for the HA-1 and HA-2 coupler. The MZ selection is used<br />
for the MZ couplers.<br />
7. Press [MENU] and use the arrow keys to make any desired changes to the<br />
menu items. See Section 5.4.5 for more details. Press [EXIT] to close the<br />
local menu.<br />
8. Press [START] to start the test sequence. The instrument will run a measurement<br />
and then pause.<br />
9. Turn the gain of the aid down to the reference test position. Match the target<br />
value within 1 dB.<br />
10. Press [START] to complete the test sequence.<br />
11. Press [PRINT] to print test results.


