Datascope - Mindray
Datascope - Mindray
Datascope - Mindray

You also want an ePaper? Increase the reach of your titles
YUMPU automatically turns print PDFs into web optimized ePapers that Google loves.
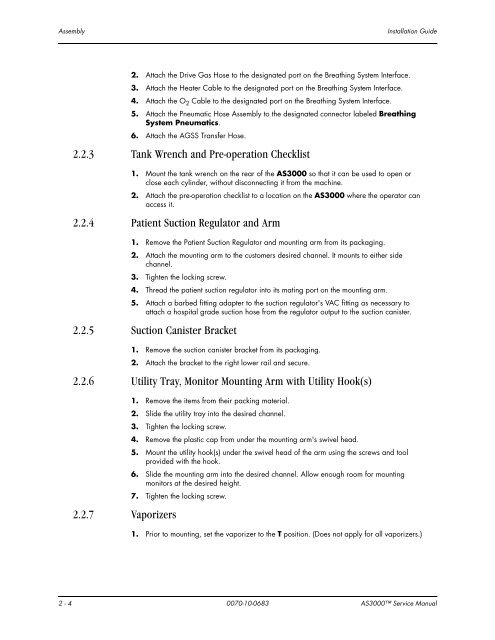
Assembly Installation Guide<br />
2. Attach the Drive Gas Hose to the designated port on the Breathing System Interface.<br />
3. Attach the Heater Cable to the designated port on the Breathing System Interface.<br />
4. Attach the O 2 Cable to the designated port on the Breathing System Interface.<br />
5. Attach the Pneumatic Hose Assembly to the designated connector labeled Breathing<br />
System Pneumatics.<br />
6. Attach the AGSS Transfer Hose.<br />
2.2.3 Tank Wrench and Pre-operation Checklist<br />
1. Mount the tank wrench on the rear of the AS3000 so that it can be used to open or<br />
close each cylinder, without disconnecting it from the machine.<br />
2. Attach the pre-operation checklist to a location on the AS3000 where the operator can<br />
access it.<br />
2.2.4 Patient Suction Regulator and Arm<br />
1. Remove the Patient Suction Regulator and mounting arm from its packaging.<br />
2. Attach the mounting arm to the customers desired channel. It mounts to either side<br />
channel.<br />
3. Tighten the locking screw.<br />
4. Thread the patient suction regulator into its mating port on the mounting arm.<br />
5. Attach a barbed fitting adapter to the suction regulator's VAC fitting as necessary to<br />
attach a hospital grade suction hose from the regulator output to the suction canister.<br />
2.2.5 Suction Canister Bracket<br />
1. Remove the suction canister bracket from its packaging.<br />
2. Attach the bracket to the right lower rail and secure.<br />
2.2.6 Utility Tray, Monitor Mounting Arm with Utility Hook(s)<br />
2.2.7 Vaporizers<br />
1. Remove the items from their packing material.<br />
2. Slide the utility tray into the desired channel.<br />
3. Tighten the locking screw.<br />
4. Remove the plastic cap from under the mounting arm's swivel head.<br />
5. Mount the utility hook(s) under the swivel head of the arm using the screws and tool<br />
provided with the hook.<br />
6. Slide the mounting arm into the desired channel. Allow enough room for mounting<br />
monitors at the desired height.<br />
7. Tighten the locking screw.<br />
1. Prior to mounting, set the vaporizer to the T position. (Does not apply for all vaporizers.)<br />
2 - 4 0070-10-0683 AS3000 Service Manual