TRD 05: Data Presentation techniques (Mapping) Quantum GIS ...
TRD 05: Data Presentation techniques (Mapping) Quantum GIS ...
TRD 05: Data Presentation techniques (Mapping) Quantum GIS ...
Create successful ePaper yourself
Turn your PDF publications into a flip-book with our unique Google optimized e-Paper software.
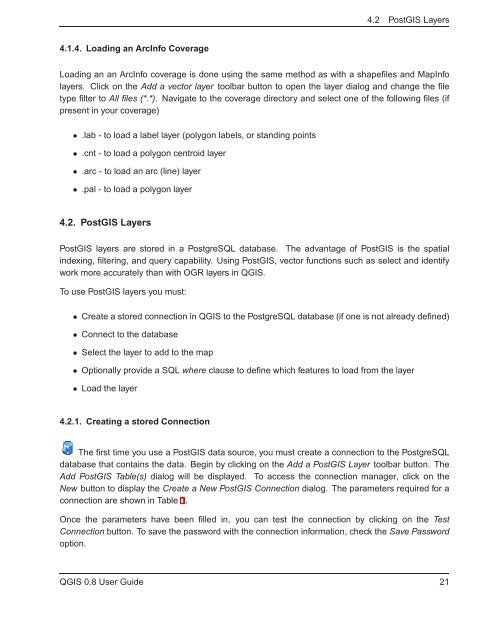
4.2 Post<strong>GIS</strong> Layers<br />
4.1.4. Loading an ArcInfo Coverage<br />
Loading an an ArcInfo coverage is done using the same method as with a shapefiles and MapInfo<br />
layers. Click on the Add a vector layer toolbar button to open the layer dialog and change the file<br />
type filter to All files (*.*). Navigate to the coverage directory and select one of the following files (if<br />
present in your coverage)<br />
• .lab - to load a label layer (polygon labels, or standing points<br />
• .cnt - to load a polygon centroid layer<br />
• .arc - to load an arc (line) layer<br />
• .pal - to load a polygon layer<br />
4.2. Post<strong>GIS</strong> Layers<br />
Post<strong>GIS</strong> layers are stored in a PostgreSQL database. The advantage of Post<strong>GIS</strong> is the spatial<br />
indexing, filtering, and query capability. Using Post<strong>GIS</strong>, vector functions such as select and identify<br />
work more accurately than with OGR layers in Q<strong>GIS</strong>.<br />
To use Post<strong>GIS</strong> layers you must:<br />
• Create a stored connection in Q<strong>GIS</strong> to the PostgreSQL database (if one is not already defined)<br />
• Connect to the database<br />
• Select the layer to add to the map<br />
• Optionally provide a SQL where clause to define which features to load from the layer<br />
• Load the layer<br />
4.2.1. Creating a stored Connection<br />
The first time you use a Post<strong>GIS</strong> data source, you must create a connection to the PostgreSQL<br />
database that contains the data. Begin by clicking on the Add a Post<strong>GIS</strong> Layer toolbar button. The<br />
Add Post<strong>GIS</strong> Table(s) dialog will be displayed. To access the connection manager, click on the<br />
New button to display the Create a New Post<strong>GIS</strong> Connection dialog. The parameters required for a<br />
connection are shown in Table 1.<br />
Once the parameters have been filled in, you can test the connection by clicking on the Test<br />
Connection button. To save the password with the connection information, check the Save Password<br />
option.<br />
Q<strong>GIS</strong> 0.8 User Guide 21


