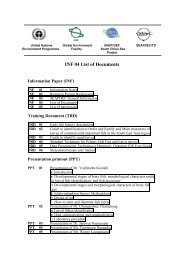
TRD 05: Data Presentation techniques (Mapping) Quantum GIS ...
TRD 05: Data Presentation techniques (Mapping) Quantum GIS ...
TRD 05: Data Presentation techniques (Mapping) Quantum GIS ...

You also want an ePaper? Increase the reach of your titles
YUMPU automatically turns print PDFs into web optimized ePapers that Google loves.
4.5 Editing<br />
Tip 12 CONCURRENT EDITS<br />
This version of Q<strong>GIS</strong> does not track if somebody else is editing a feature at the same time as you. The last<br />
writer wins.<br />
Tip 13 ZOOM IN BEFORE EDITING<br />
Before editing a layer, you should zoom in to your area of interest first. This avoids waiting while all the vertex<br />
markers are rendered across the entire layer.<br />
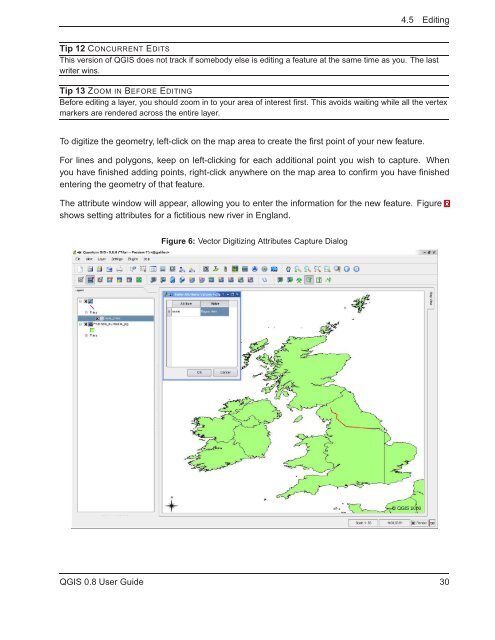
To digitize the geometry, left-click on the map area to create the first point of your new feature.<br />
For lines and polygons, keep on left-clicking for each additional point you wish to capture. When<br />
you have finished adding points, right-click anywhere on the map area to confirm you have finished<br />
entering the geometry of that feature.<br />
The attribute window will appear, allowing you to enter the information for the new feature. Figure 6<br />
shows setting attributes for a fictitious new river in England.<br />
Figure 6: Vector Digitizing Attributes Capture Dialog<br />
Q<strong>GIS</strong> 0.8 User Guide 30