TRD 05: Data Presentation techniques (Mapping) Quantum GIS ...
TRD 05: Data Presentation techniques (Mapping) Quantum GIS ...
TRD 05: Data Presentation techniques (Mapping) Quantum GIS ...
Create successful ePaper yourself
Turn your PDF publications into a flip-book with our unique Google optimized e-Paper software.
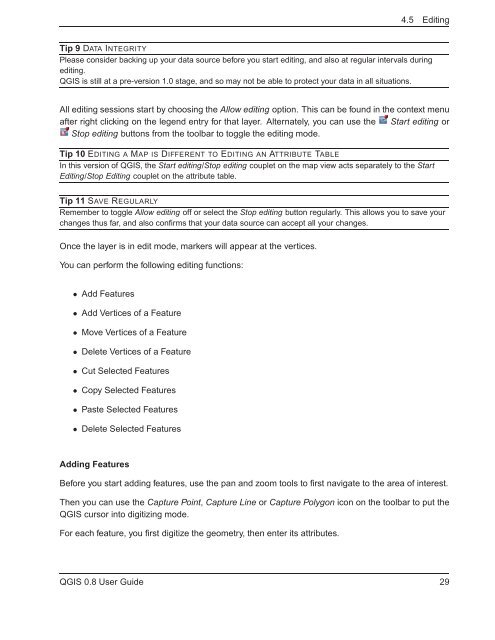
4.5 Editing<br />
Tip 9 DATA INTEGRITY<br />
Please consider backing up your data source before you start editing, and also at regular intervals during<br />
editing.<br />
Q<strong>GIS</strong> is still at a pre-version 1.0 stage, and so may not be able to protect your data in all situations.<br />
All editing sessions start by choosing the Allow editing option. This can be found in the context menu<br />
after right clicking on the legend entry for that layer. Alternately, you can use the Start editing or<br />
Stop editing buttons from the toolbar to toggle the editing mode.<br />
Tip 10 EDITING A MAP IS DIFFERENT TO EDITING AN ATTRIBUTE TABLE<br />
In this version of Q<strong>GIS</strong>, the Start editing/Stop editing couplet on the map view acts separately to the Start<br />
Editing/Stop Editing couplet on the attribute table.<br />
Tip 11 SAVE REGULARLY<br />
Remember to toggle Allow editing off or select the Stop editing button regularly. This allows you to save your<br />
changes thus far, and also confirms that your data source can accept all your changes.<br />
Once the layer is in edit mode, markers will appear at the vertices.<br />
You can perform the following editing functions:<br />
• Add Features<br />
• Add Vertices of a Feature<br />
• Move Vertices of a Feature<br />
• Delete Vertices of a Feature<br />
• Cut Selected Features<br />
• Copy Selected Features<br />
• Paste Selected Features<br />
• Delete Selected Features<br />
Adding Features<br />
Before you start adding features, use the pan and zoom tools to first navigate to the area of interest.<br />
Then you can use the Capture Point, Capture Line or Capture Polygon icon on the toolbar to put the<br />
Q<strong>GIS</strong> cursor into digitizing mode.<br />
For each feature, you first digitize the geometry, then enter its attributes.<br />
Q<strong>GIS</strong> 0.8 User Guide 29


