
You also want an ePaper? Increase the reach of your titles
YUMPU automatically turns print PDFs into web optimized ePapers that Google loves.
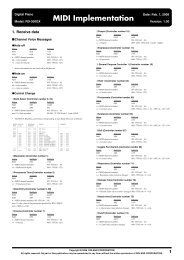
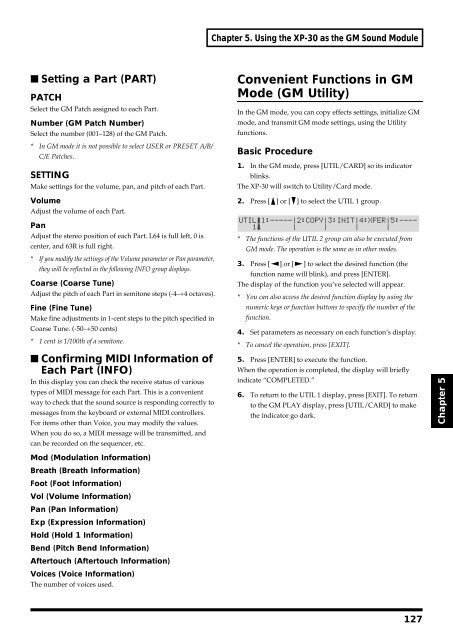
Chapter 5. Using the XP-30 as the GM Sound Module<br />
■ Setting a Part (PART)<br />
PATCH<br />
Select the GM Patch assigned to each Part.<br />
Number (GM Patch Number)<br />
Select the number (001–128) of the GM Patch.<br />
* In GM mode it is not possible to select USER or PRESET A/B/<br />
C/E Patches.<br />
SETTING<br />
Make settings for the volume, pan, and pitch of each Part.<br />
Volume<br />
Adjust the volume of each Part.<br />
Convenient Functions in GM<br />
Mode (GM Utility)<br />
In the GM mode, you can copy effects settings, initialize GM<br />
mode, and transmit GM mode settings, using the Utility<br />
functions.<br />
Basic Procedure<br />
1. In the GM mode, press [UTIL/CARD] so its indicator<br />
blinks.<br />
The XP-30 will switch to Utility/Card mode.<br />
2. Press [ ] or [ ] to select the UTIL 1 group.<br />
fig.5-03<br />
Pan<br />
Adjust the stereo position of each Part. L64 is full left, 0 is<br />
center, and 63R is full right.<br />
* If you modify the settings of the Volume parameter or Pan parameter,<br />
they will be reflected in the following INFO group displays.<br />
Coarse (Coarse Tune)<br />
Adjust the pitch of each Part in semitone steps (-4–+4 octaves).<br />
Fine (Fine Tune)<br />
Make fine adjustments in 1-cent steps to the pitch specified in<br />
Coarse Tune. (-50–+50 cents)<br />
* 1 cent is 1/100th of a semitone.<br />
■ Confirming MIDI Information of<br />
Each Part (INFO)<br />
In this display you can check the receive status of various<br />
types of MIDI message for each Part. This is a convenient<br />
way to check that the sound source is responding correctly to<br />
messages from the keyboard or external MIDI controllers.<br />
For items other than Voice, you may modify the values.<br />
When you do so, a MIDI message will be transmitted, and<br />
can be recorded on the sequencer, etc.<br />
* The functions of the UTIL 2 group can also be executed from<br />
GM mode. The operation is the same as in other modes.<br />
3. Press [ ] or [ ] to select the desired function (the<br />
function name will blink), and press [ENTER].<br />
The display of the function you’ve selected will appear.<br />
* You can also access the desired function display by using the<br />
numeric keys or function buttons to specify the number of the<br />
function.<br />
4. Set parameters as necessary on each function’s display.<br />
* To cancel the operation, press [EXIT].<br />
5. Press [ENTER] to execute the function.<br />
When the operation is completed, the display will briefly<br />
indicate “COMPLETED.”<br />
6. To return to the UTIL 1 display, press [EXIT]. To return<br />
to the GM PLAY display, press [UTIL/CARD] to make<br />
the indicator go dark.<br />
Chapter 5<br />
Mod (Modulation Information)<br />
Breath (Breath Information)<br />
Foot (Foot Information)<br />
Vol (Volume Information)<br />
Pan (Pan Information)<br />
Exp (Expression Information)<br />
Hold (Hold 1 Information)<br />
Bend (Pitch Bend Information)<br />
Aftertouch (Aftertouch Information)<br />
Voices (Voice Information)<br />
The number of voices used.<br />
127