
Create successful ePaper yourself
Turn your PDF publications into a flip-book with our unique Google optimized e-Paper software.
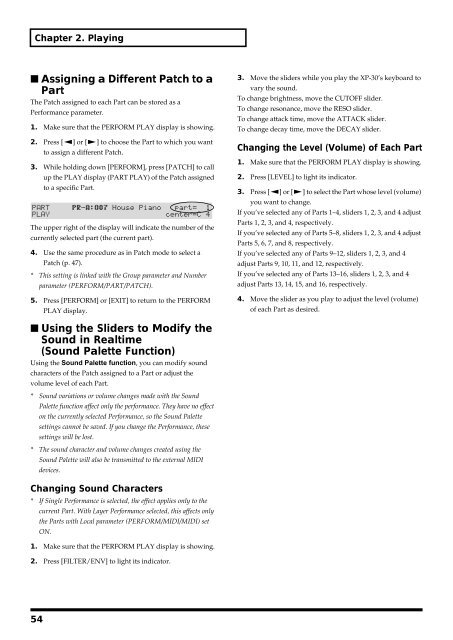
Chapter 2. Playing<br />
■ Assigning a Different Patch to a<br />
Part<br />
The Patch assigned to each Part can be stored as a<br />
Performance parameter.<br />
1. Make sure that the PERFORM PLAY display is showing.<br />
2. Press [ ] or [ ] to choose the Part to which you want<br />
to assign a different Patch.<br />
3. While holding down [PERFORM], press [PATCH] to call<br />
up the PLAY display (PART PLAY) of the Patch assigned<br />
to a specific Part.<br />
fig.2-13<br />
The upper right of the display will indicate the number of the<br />
currently selected part (the current part).<br />
4. Use the same procedure as in Patch mode to select a<br />
Patch (p. 47).<br />
* This setting is linked with the Group parameter and Number<br />
parameter (PERFORM/PART/PATCH).<br />
5. Press [PERFORM] or [EXIT] to return to the PERFORM<br />
PLAY display.<br />
3. Move the sliders while you play the XP-30’s keyboard to<br />
vary the sound.<br />
To change brightness, move the CUTOFF slider.<br />
To change resonance, move the RESO slider.<br />
To change attack time, move the ATTACK slider.<br />
To change decay time, move the DECAY slider.<br />
Changing the Level (Volume) of Each Part<br />
1. Make sure that the PERFORM PLAY display is showing.<br />
2. Press [LEVEL] to light its indicator.<br />
3. Press [ ] or [ ] to select the Part whose level (volume)<br />
you want to change.<br />
If you’ve selected any of Parts 1–4, sliders 1, 2, 3, and 4 adjust<br />
Parts 1, 2, 3, and 4, respectively.<br />
If you’ve selected any of Parts 5–8, sliders 1, 2, 3, and 4 adjust<br />
Parts 5, 6, 7, and 8, respectively.<br />
If you’ve selected any of Parts 9–12, sliders 1, 2, 3, and 4<br />
adjust Parts 9, 10, 11, and 12, respectively.<br />
If you’ve selected any of Parts 13–16, sliders 1, 2, 3, and 4<br />
adjust Parts 13, 14, 15, and 16, respectively.<br />
4. Move the slider as you play to adjust the level (volume)<br />
of each Part as desired.<br />
■ Using the Sliders to Modify the<br />
Sound in Realtime<br />
(Sound Palette Function)<br />
Using the Sound Palette function, you can modify sound<br />
characters of the Patch assigned to a Part or adjust the<br />
volume level of each Part.<br />
* Sound variations or volume changes made with the Sound<br />
Palette function affect only the performance. They have no effect<br />
on the currently selected Performance, so the Sound Palette<br />
settings cannot be saved. If you change the Performance, these<br />
settings will be lost.<br />
* The sound character and volume changes created using the<br />
Sound Palette will also be transmitted to the external MIDI<br />
devices.<br />
Changing Sound Characters<br />
* If Single Performance is selected, the effect applies only to the<br />
current Part. With Layer Performance selected, this affects only<br />
the Parts with Local parameter (PERFORM/MIDI/MIDI) set<br />
ON.<br />
1. Make sure that the PERFORM PLAY display is showing.<br />
2. Press [FILTER/ENV] to light its indicator.<br />
54