MMC User Manual - AMS Neve
MMC User Manual - AMS Neve
MMC User Manual - AMS Neve
You also want an ePaper? Increase the reach of your titles
YUMPU automatically turns print PDFs into web optimized ePapers that Google loves.
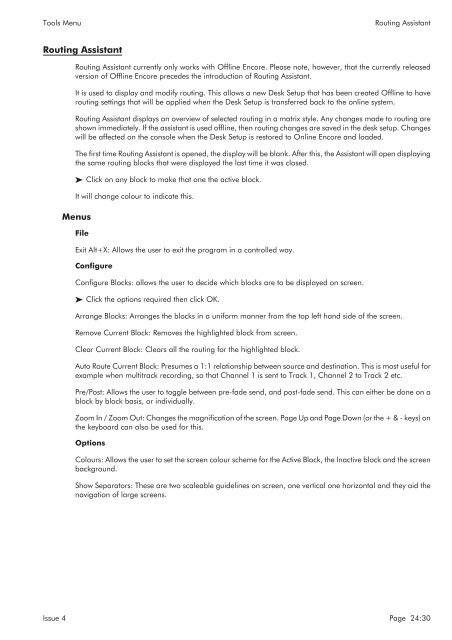
Tools Menu<br />
Routing Assistant<br />
Routing Assistant<br />
Routing Assistant currently only works with Offline Encore. Please note, however, that the currently released<br />
version of Offline Encore precedes the introduction of Routing Assistant.<br />
It is used to display and modify routing. This allows a new Desk Setup that has been created Offline to have<br />
routing settings that will be applied when the Desk Setup is transferred back to the online system.<br />
Routing Assistant displays an overview of selected routing in a matrix style. Any changes made to routing are<br />
shown immediately. If the assistant is used offline, then routing changes are saved in the desk setup. Changes<br />
will be affected on the console when the Desk Setup is restored to Online Encore and loaded.<br />
The first time Routing Assistant is opened, the display will be blank. After this, the Assistant will open displaying<br />
the same routing blocks that were displayed the last time it was closed.<br />
Click on any block to make that one the active block.<br />
It will change colour to indicate this.<br />
Menus<br />
File<br />
Exit Alt+X: Allows the user to exit the program in a controlled way.<br />
Configure<br />
Configure Blocks: allows the user to decide which blocks are to be displayed on screen.<br />
Click the options required then click OK.<br />
Arrange Blocks: Arranges the blocks in a uniform manner from the top left hand side of the screen.<br />
Remove Current Block: Removes the highlighted block from screen.<br />
Clear Current Block: Clears all the routing for the highlighted block.<br />
Auto Route Current Block: Presumes a 1:1 relationship between source and destination. This is most useful for<br />
example when multitrack recording, so that Channel 1 is sent to Track 1, Channel 2 to Track 2 etc.<br />
Pre/Post: Allows the user to toggle between pre-fade send, and post-fade send. This can either be done on a<br />
block by block basis, or individually.<br />
Zoom In / Zoom Out: Changes the magnification of the screen. Page Up and Page Down (or the+&-keys) on<br />
the keyboard can also be used for this.<br />
Options<br />
Colours: Allows the user to set the screen colour scheme for the Active Block, the Inactive block and the screen<br />
background.<br />
Show Separators: These are two scaleable guidelines on screen, one vertical one horizontal and they aid the<br />
navigation of large screens.<br />
Issue 4 Page 24:30


