

MOAC_Powerpoint_2016

You also want an ePaper? Increase the reach of your titles
YUMPU automatically turns print PDFs into web optimized ePapers that Google loves.
116<br />
Lesson 6<br />
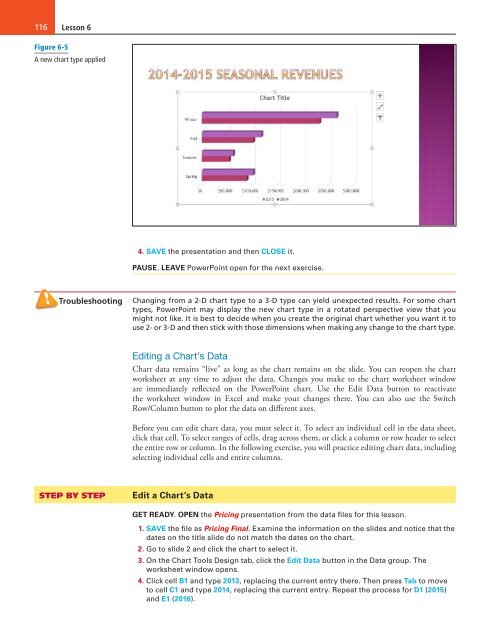
Figure 6-5<br />
A new chart type applied<br />
4. SAVE the presentation and then CLOSE it.<br />
PAUSE. LEAVE PowerPoint open for the next exercise.<br />
Troubleshooting<br />
Changing from a 2-D chart type to a 3-D type can yield unexpected results. For some chart<br />
types, PowerPoint may display the new chart type in a rotated perspective view that you<br />
might not like. It is best to decide when you create the original chart whether you want it to<br />
use 2- or 3-D and then stick with those dimensions when making any change to the chart type.<br />
Editing a Chart’s Data<br />
Chart data remains “live” as long as the chart remains on the slide. You can reopen the chart<br />
worksheet at any time to adjust the data. Changes you make to the chart worksheet window<br />
are immediately reflected on the PowerPoint chart. Use the Edit Data button to reactivate<br />
the worksheet window in Excel and make your changes there. You can also use the Switch<br />
Row/Column button to plot the data on different axes.<br />
Before you can edit chart data, you must select it. To select an individual cell in the data sheet,<br />
click that cell. To select ranges of cells, drag across them, or click a column or row header to select<br />
the entire row or column. In the following exercise, you will practice editing chart data, including<br />
selecting individual cells and entire columns.<br />
STEP BY STEP<br />
Edit a Chart’s Data<br />
GET READY. OPEN the Pricing presentation from the data files for this lesson.<br />
1. SAVE the file as Pricing Final. Examine the information on the slides and notice that the<br />
dates on the title slide do not match the dates on the chart.<br />
2. Go to slide 2 and click the chart to select it.<br />
3. On the Chart Tools Design tab, click the Edit Data button in the Data group. The<br />
worksheet window opens.<br />
4. Click cell B1 and type 2013, replacing the current entry there. Then press Tab to move<br />
to cell C1 and type 2014, replacing the current entry. Repeat the process for D1 (2015)<br />
and E1 (<strong>2016</strong>).

