

MOAC_Powerpoint_2016

You also want an ePaper? Increase the reach of your titles
YUMPU automatically turns print PDFs into web optimized ePapers that Google loves.
38<br />
Lesson 2<br />
STEP BY STEP<br />
Set Print Options<br />
GET READY. USE the Cashier Training1 presentation that is still open from the previous<br />
exercise.<br />
1. Click the File tab and then click Print. The printing options and Print Preview appear in<br />
Backstage view. The Notes Pages layout is still selected from the previous exercise.<br />
2. In the Copies box at the top of the window, type 2 to print two copies.<br />
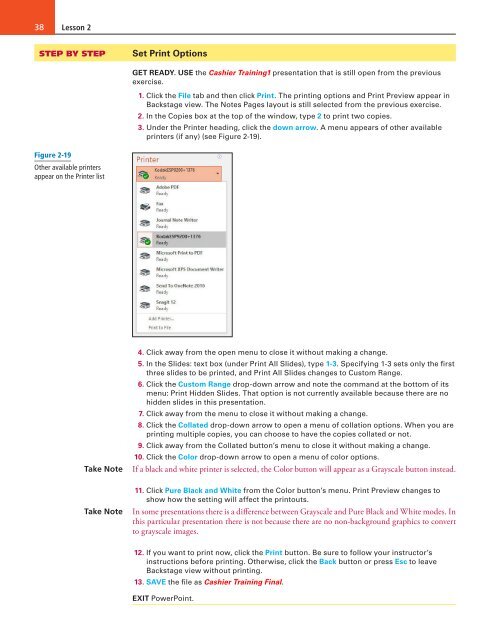
3. Under the Printer heading, click the down arrow. A menu appears of other available<br />
printers (if any) (see Figure 2-19).<br />
Figure 2-19<br />
Other available printers<br />
appear on the Printer list<br />
Take Note<br />
4. Click away from the open menu to close it without making a change.<br />
5. In the Slides: text box (under Print All Slides), type 1-3. Specifying 1-3 sets only the first<br />
three slides to be printed, and Print All Slides changes to Custom Range.<br />
6. Click the Custom Range drop-down arrow and note the command at the bottom of its<br />
menu: Print Hidden Slides. That option is not currently available because there are no<br />
hidden slides in this presentation.<br />
7. Click away from the menu to close it without making a change.<br />
8. Click the Collated drop-down arrow to open a menu of collation options. When you are<br />
printing multiple copies, you can choose to have the copies collated or not.<br />
9. Click away from the Collated button’s menu to close it without making a change.<br />
10. Click the Color drop-down arrow to open a menu of color options.<br />
If a black and white printer is selected, the Color button will appear as a Grayscale button instead.<br />
Take Note<br />
11. Click Pure Black and White from the Color button’s menu. Print Preview changes to<br />
show how the setting will affect the printouts.<br />
In some presentations there is a difference between Grayscale and Pure Black and White modes. In<br />
this particular presentation there is not because there are no non-background graphics to convert<br />
to grayscale images.<br />
12. If you want to print now, click the Print button. Be sure to follow your instructor’s<br />
instructions before printing. Otherwise, click the Back button or press Esc to leave<br />
Backstage view without printing.<br />
13. SAVE the file as Cashier Training Final.<br />
EXIT PowerPoint.

