

MOAC_Powerpoint_2016

You also want an ePaper? Increase the reach of your titles
YUMPU automatically turns print PDFs into web optimized ePapers that Google loves.
146<br />
Lesson 8<br />
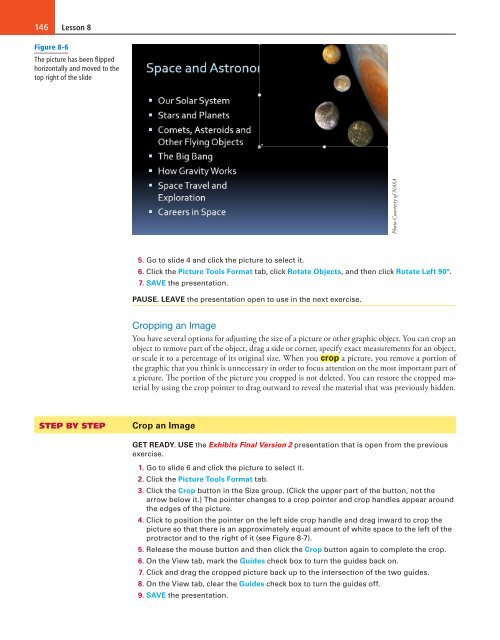
Figure 8-6<br />
The picture has been flipped<br />
horizontally and moved to the<br />
top right of the slide<br />
Photo Courtesty of NASA<br />
5. Go to slide 4 and click the picture to select it.<br />
6. Click the Picture Tools Format tab, click Rotate Objects, and then click Rotate Left 90°.<br />
7. SAVE the presentation.<br />
PAUSE. LEAVE the presentation open to use in the next exercise.<br />
Cropping an Image<br />
You have several options for adjusting the size of a picture or other graphic object. You can crop an<br />
object to remove part of the object, drag a side or corner, specify exact measurements for an object,<br />
or scale it to a percentage of its original size. When you crop a picture, you remove a portion of<br />
the graphic that you think is unnecessary in order to focus attention on the most important part of<br />
a picture. The portion of the picture you cropped is not deleted. You can restore the cropped material<br />
by using the crop pointer to drag outward to reveal the material that was previously hidden.<br />
STEP BY STEP<br />
Crop an Image<br />
GET READY. USE the Exhibits Final Version 2 presentation that is open from the previous<br />
exercise.<br />
1. Go to slide 6 and click the picture to select it.<br />
2. Click the Picture Tools Format tab.<br />
3. Click the Crop button in the Size group. (Click the upper part of the button, not the<br />
arrow below it.) The pointer changes to a crop pointer and crop handles appear around<br />
the edges of the picture.<br />
4. Click to position the pointer on the left side crop handle and drag inward to crop the<br />
picture so that there is an approximately equal amount of white space to the left of the<br />
protractor and to the right of it (see Figure 8-7).<br />
5. Release the mouse button and then click the Crop button again to complete the crop.<br />
6. On the View tab, mark the Guides check box to turn the guides back on.<br />
7. Click and drag the cropped picture back up to the intersection of the two guides.<br />
8. On the View tab, clear the Guides check box to turn the guides off.<br />
9. SAVE the presentation.

