Oracle Database Oracle Clusterware Installation Guide for HP-UX
Oracle Database Oracle Clusterware Installation Guide for HP-UX
Oracle Database Oracle Clusterware Installation Guide for HP-UX

Create successful ePaper yourself
Turn your PDF publications into a flip-book with our unique Google optimized e-Paper software.
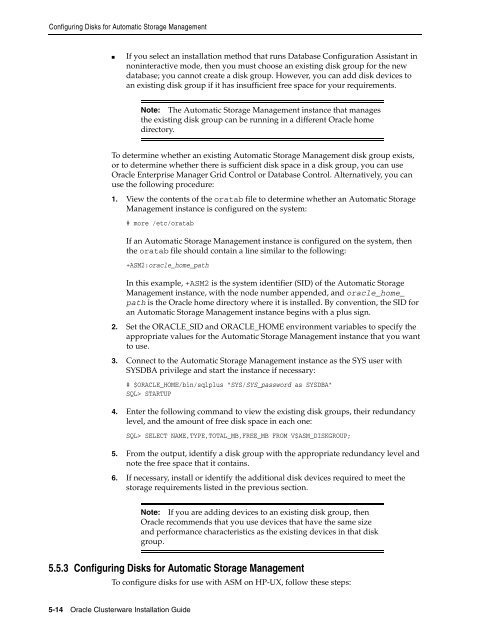
Configuring Disks <strong>for</strong> Automatic Storage Management<br />
■ If you select an installation method that runs <strong>Database</strong> Configuration Assistant in<br />
noninteractive mode, then you must choose an existing disk group <strong>for</strong> the new<br />
database; you cannot create a disk group. However, you can add disk devices to<br />
an existing disk group if it has insufficient free space <strong>for</strong> your requirements.<br />
To determine whether an existing Automatic Storage Management disk group exists,<br />
or to determine whether there is sufficient disk space in a disk group, you can use<br />
<strong>Oracle</strong> Enterprise Manager Grid Control or <strong>Database</strong> Control. Alternatively, you can<br />
use the following procedure:<br />
1. View the contents of the oratab file to determine whether an Automatic Storage<br />
Management instance is configured on the system:<br />
# more /etc/oratab<br />
5-14 <strong>Oracle</strong> <strong>Clusterware</strong> <strong>Installation</strong> <strong>Guide</strong><br />
Note: The Automatic Storage Management instance that manages<br />
the existing disk group can be running in a different <strong>Oracle</strong> home<br />
directory.<br />
If an Automatic Storage Management instance is configured on the system, then<br />
the oratab file should contain a line similar to the following:<br />
+ASM2:oracle_home_path<br />
In this example, +ASM2 is the system identifier (SID) of the Automatic Storage<br />
Management instance, with the node number appended, and oracle_home_<br />
path is the <strong>Oracle</strong> home directory where it is installed. By convention, the SID <strong>for</strong><br />
an Automatic Storage Management instance begins with a plus sign.<br />
2. Set the ORACLE_SID and ORACLE_HOME environment variables to specify the<br />
appropriate values <strong>for</strong> the Automatic Storage Management instance that you want<br />
to use.<br />
3. Connect to the Automatic Storage Management instance as the SYS user with<br />
SYSDBA privilege and start the instance if necessary:<br />
# $ORACLE_HOME/bin/sqlplus "SYS/SYS_password as SYSDBA"<br />
SQL> STARTUP<br />
4. Enter the following command to view the existing disk groups, their redundancy<br />
level, and the amount of free disk space in each one:<br />
SQL> SELECT NAME,TYPE,TOTAL_MB,FREE_MB FROM V$ASM_DISKGROUP;<br />
5. From the output, identify a disk group with the appropriate redundancy level and<br />
note the free space that it contains.<br />
6. If necessary, install or identify the additional disk devices required to meet the<br />
storage requirements listed in the previous section.<br />
Note: If you are adding devices to an existing disk group, then<br />
<strong>Oracle</strong> recommends that you use devices that have the same size<br />
and per<strong>for</strong>mance characteristics as the existing devices in that disk<br />
group.<br />
5.5.3 Configuring Disks <strong>for</strong> Automatic Storage Management<br />
To configure disks <strong>for</strong> use with ASM on <strong>HP</strong>-<strong>UX</strong>, follow these steps: