Oracle Database Oracle Clusterware Installation Guide for HP-UX
Oracle Database Oracle Clusterware Installation Guide for HP-UX
Oracle Database Oracle Clusterware Installation Guide for HP-UX

Create successful ePaper yourself
Turn your PDF publications into a flip-book with our unique Google optimized e-Paper software.
Installing <strong>Oracle</strong> <strong>Clusterware</strong> with OUI<br />
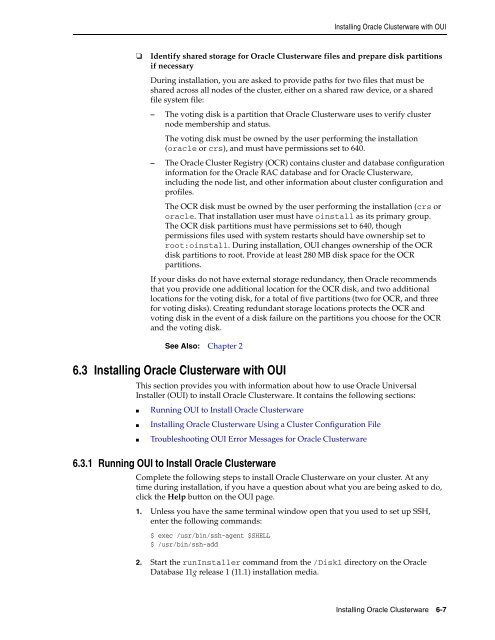
❏ Identify shared storage <strong>for</strong> <strong>Oracle</strong> <strong>Clusterware</strong> files and prepare disk partitions<br />
if necessary<br />
During installation, you are asked to provide paths <strong>for</strong> two files that must be<br />
shared across all nodes of the cluster, either on a shared raw device, or a shared<br />
file system file:<br />
– The voting disk is a partition that <strong>Oracle</strong> <strong>Clusterware</strong> uses to verify cluster<br />
node membership and status.<br />
The voting disk must be owned by the user per<strong>for</strong>ming the installation<br />
(oracle or crs), and must have permissions set to 640.<br />
– The <strong>Oracle</strong> Cluster Registry (OCR) contains cluster and database configuration<br />
in<strong>for</strong>mation <strong>for</strong> the <strong>Oracle</strong> RAC database and <strong>for</strong> <strong>Oracle</strong> <strong>Clusterware</strong>,<br />
including the node list, and other in<strong>for</strong>mation about cluster configuration and<br />
profiles.<br />
The OCR disk must be owned by the user per<strong>for</strong>ming the installation (crs or<br />
oracle. That installation user must have oinstall as its primary group.<br />
The OCR disk partitions must have permissions set to 640, though<br />
permissions files used with system restarts should have ownership set to<br />
root:oinstall. During installation, OUI changes ownership of the OCR<br />
disk partitions to root. Provide at least 280 MB disk space <strong>for</strong> the OCR<br />
partitions.<br />
If your disks do not have external storage redundancy, then <strong>Oracle</strong> recommends<br />
that you provide one additional location <strong>for</strong> the OCR disk, and two additional<br />
locations <strong>for</strong> the voting disk, <strong>for</strong> a total of five partitions (two <strong>for</strong> OCR, and three<br />
<strong>for</strong> voting disks). Creating redundant storage locations protects the OCR and<br />
voting disk in the event of a disk failure on the partitions you choose <strong>for</strong> the OCR<br />
and the voting disk.<br />
See Also: Chapter 2<br />
6.3 Installing <strong>Oracle</strong> <strong>Clusterware</strong> with OUI<br />
This section provides you with in<strong>for</strong>mation about how to use <strong>Oracle</strong> Universal<br />
Installer (OUI) to install <strong>Oracle</strong> <strong>Clusterware</strong>. It contains the following sections:<br />
■ Running OUI to Install <strong>Oracle</strong> <strong>Clusterware</strong><br />
■ Installing <strong>Oracle</strong> <strong>Clusterware</strong> Using a Cluster Configuration File<br />
■ Troubleshooting OUI Error Messages <strong>for</strong> <strong>Oracle</strong> <strong>Clusterware</strong><br />
6.3.1 Running OUI to Install <strong>Oracle</strong> <strong>Clusterware</strong><br />
Complete the following steps to install <strong>Oracle</strong> <strong>Clusterware</strong> on your cluster. At any<br />
time during installation, if you have a question about what you are being asked to do,<br />
click the Help button on the OUI page.<br />
1. Unless you have the same terminal window open that you used to set up SSH,<br />
enter the following commands:<br />
$ exec /usr/bin/ssh-agent $SHELL<br />
$ /usr/bin/ssh-add<br />
2. Start the runInstaller command from the /Disk1 directory on the <strong>Oracle</strong><br />
<strong>Database</strong> 11g release 1 (11.1) installation media.<br />
Installing <strong>Oracle</strong> <strong>Clusterware</strong> 6-7