Oracle Database Oracle Clusterware Installation Guide for HP-UX
Oracle Database Oracle Clusterware Installation Guide for HP-UX
Oracle Database Oracle Clusterware Installation Guide for HP-UX

You also want an ePaper? Increase the reach of your titles
YUMPU automatically turns print PDFs into web optimized ePapers that Google loves.
Configuring Storage <strong>for</strong> <strong>Oracle</strong> <strong>Database</strong> Files on Shared Storage Devices<br />
5-16 <strong>Oracle</strong> <strong>Clusterware</strong> <strong>Installation</strong> <strong>Guide</strong><br />
# chown oracle:dba /dev/rdsk/cxtydz<br />
# chmod 660 /dev/rdsk/cxtydz<br />
Note: If you are using a multi-pathing disk driver with ASM,<br />
make sure that you set the permissions only on the correct logical<br />
device name <strong>for</strong> the disk.<br />
If the nodes are configured differently, the device name <strong>for</strong> a<br />
particular device might be different on some nodes. Make sure that<br />
you specify the correct device names on each node.<br />
6. If you also want to use raw devices <strong>for</strong> storage, then refer to the following section,<br />
"Configuring Disks <strong>for</strong> <strong>Database</strong> Files on Raw Devices" section on page 5-17.<br />
5.6 Configuring Storage <strong>for</strong> <strong>Oracle</strong> <strong>Database</strong> Files on Shared Storage<br />
Devices<br />
The following subsections describe how to configure <strong>Oracle</strong> <strong>Clusterware</strong> files on raw<br />
devices.<br />
■ Planning Your Shared Storage Device Creation Strategy<br />
■ Identifying Required Shared Partitions <strong>for</strong> <strong>Database</strong> Files<br />
■ Desupport of the <strong>Database</strong> Configuration Assistant Raw Device Mapping File<br />
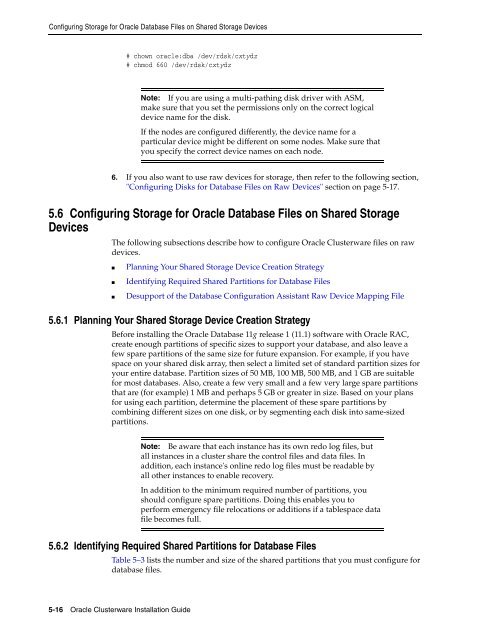
5.6.1 Planning Your Shared Storage Device Creation Strategy<br />
Be<strong>for</strong>e installing the <strong>Oracle</strong> <strong>Database</strong> 11g release 1 (11.1) software with <strong>Oracle</strong> RAC,<br />
create enough partitions of specific sizes to support your database, and also leave a<br />
few spare partitions of the same size <strong>for</strong> future expansion. For example, if you have<br />
space on your shared disk array, then select a limited set of standard partition sizes <strong>for</strong><br />
your entire database. Partition sizes of 50 MB, 100 MB, 500 MB, and 1 GB are suitable<br />
<strong>for</strong> most databases. Also, create a few very small and a few very large spare partitions<br />
that are (<strong>for</strong> example) 1 MB and perhaps 5 GB or greater in size. Based on your plans<br />
<strong>for</strong> using each partition, determine the placement of these spare partitions by<br />
combining different sizes on one disk, or by segmenting each disk into same-sized<br />
partitions.<br />
Note: Be aware that each instance has its own redo log files, but<br />
all instances in a cluster share the control files and data files. In<br />
addition, each instance's online redo log files must be readable by<br />
all other instances to enable recovery.<br />
In addition to the minimum required number of partitions, you<br />
should configure spare partitions. Doing this enables you to<br />
per<strong>for</strong>m emergency file relocations or additions if a tablespace data<br />
file becomes full.<br />
5.6.2 Identifying Required Shared Partitions <strong>for</strong> <strong>Database</strong> Files<br />
Table 5–3 lists the number and size of the shared partitions that you must configure <strong>for</strong><br />
database files.