Bitdefender Antivirus Pro 2011
Bitdefender Antivirus Pro 2011
Bitdefender Antivirus Pro 2011
Create successful ePaper yourself
Turn your PDF publications into a flip-book with our unique Google optimized e-Paper software.
BitDefender <strong>Antivirus</strong> <strong>Pro</strong> <strong>2011</strong><br />
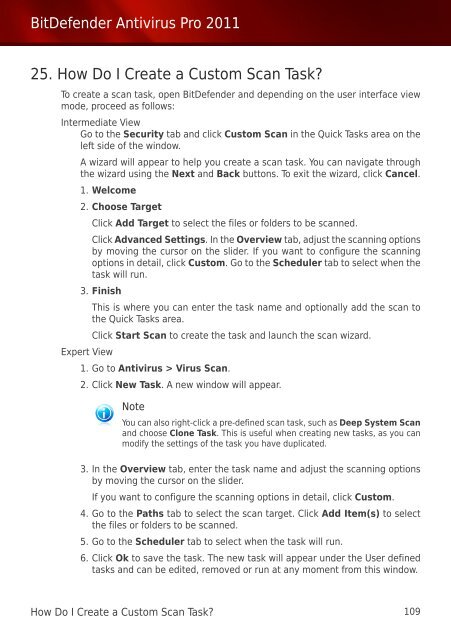
25. How Do I Create a Custom Scan Task?<br />
To create a scan task, open BitDefender and depending on the user interface view<br />
mode, proceed as follows:<br />
Intermediate View<br />
Go to the Security tab and click Custom Scan in the Quick Tasks area on the<br />
left side of the window.<br />
A wizard will appear to help you create a scan task. You can navigate through<br />
the wizard using the Next and Back buttons. To exit the wizard, click Cancel.<br />
1. Welcome<br />
2. Choose Target<br />
Click Add Target to select the files or folders to be scanned.<br />
Click Advanced Settings. In the Overview tab, adjust the scanning options<br />
by moving the cursor on the slider. If you want to configure the scanning<br />
options in detail, click Custom. Go to the Scheduler tab to select when the<br />
task will run.<br />
3. Finish<br />
Expert View<br />
This is where you can enter the task name and optionally add the scan to<br />
the Quick Tasks area.<br />
Click Start Scan to create the task and launch the scan wizard.<br />
1. Go to <strong>Antivirus</strong> > Virus Scan.<br />
2. Click New Task. A new window will appear.<br />
Note<br />
You can also right-click a pre-defined scan task, such as Deep System Scan<br />
and choose Clone Task. This is useful when creating new tasks, as you can<br />
modify the settings of the task you have duplicated.<br />
3. In the Overview tab, enter the task name and adjust the scanning options<br />
by moving the cursor on the slider.<br />
If you want to configure the scanning options in detail, click Custom.<br />
4. Go to the Paths tab to select the scan target. Click Add Item(s) to select<br />
the files or folders to be scanned.<br />
5. Go to the Scheduler tab to select when the task will run.<br />
6. Click Ok to save the task. The new task will appear under the User defined<br />
tasks and can be edited, removed or run at any moment from this window.<br />
How Do I Create a Custom Scan Task? 109


