Bitdefender Antivirus Pro 2011
Bitdefender Antivirus Pro 2011
Bitdefender Antivirus Pro 2011
You also want an ePaper? Increase the reach of your titles
YUMPU automatically turns print PDFs into web optimized ePapers that Google loves.
BitDefender <strong>Antivirus</strong> <strong>Pro</strong> <strong>2011</strong><br />
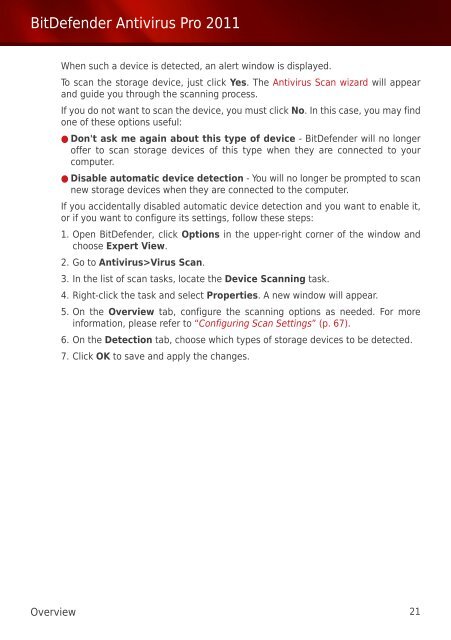
When such a device is detected, an alert window is displayed.<br />
To scan the storage device, just click Yes. The <strong>Antivirus</strong> Scan wizard will appear<br />
and guide you through the scanning process.<br />
If you do not want to scan the device, you must click No. In this case, you may find<br />
one of these options useful:<br />
● Don't ask me again about this type of device - BitDefender will no longer<br />
offer to scan storage devices of this type when they are connected to your<br />
computer.<br />
● Disable automatic device detection - You will no longer be prompted to scan<br />
new storage devices when they are connected to the computer.<br />
If you accidentally disabled automatic device detection and you want to enable it,<br />
or if you want to configure its settings, follow these steps:<br />
1. Open BitDefender, click Options in the upper-right corner of the window and<br />
choose Expert View.<br />
2. Go to <strong>Antivirus</strong>>Virus Scan.<br />
3. In the list of scan tasks, locate the Device Scanning task.<br />
4. Right-click the task and select <strong>Pro</strong>perties. A new window will appear.<br />
5. On the Overview tab, configure the scanning options as needed. For more<br />
information, please refer to “Configuring Scan Settings” (p. 67).<br />
6. On the Detection tab, choose which types of storage devices to be detected.<br />
7. Click OK to save and apply the changes.<br />
Overview 21


