opsi manual opsi version 4.0.2 - opsi Download - uib
opsi manual opsi version 4.0.2 - opsi Download - uib
opsi manual opsi version 4.0.2 - opsi Download - uib

Create successful ePaper yourself
Turn your PDF publications into a flip-book with our unique Google optimized e-Paper software.
<strong>opsi</strong> <strong>manual</strong> <strong>opsi</strong> <strong>version</strong> <strong>4.0.2</strong><br />
• <strong>opsi</strong>-package-manager<br />
Script to unpack, install, remove, list <strong>opsi</strong> packages on one ore more servers (and a lot more).<br />
• <strong>opsi</strong>-setup<br />
<strong>opsi</strong> configuration utility<br />
24.7 <strong>opsi</strong> log files<br />
The <strong>opsi</strong> log files have the following format:<br />
[Loglevel] Timestamp Message<br />
The log levels are:<br />
0 = nothing (absolute nothing)<br />
1 = essential ("we always need to know")<br />
2 = critical (unexpected errors that my cause a program abort)<br />
3 = error (Errors that don’t will abort the running program)<br />
4 = warning (you should have a look at this)<br />
5 = notice (Important statements to the program flow)<br />
6 = info (Additional Infos)<br />
7 = debug (important debug messages)<br />
8 = debug2 (a lot more debug information and data)<br />
9 = confidential (passwords and other security relevant data)<br />
24.7.1 /var/log/<strong>opsi</strong>/bootimage<br />
In this directory are the log-files of the <strong>opsi</strong>-linux-bootimage. These log files will be named log..<br />
189 / 193<br />
If the <strong>opsi</strong>-linux-bootimage couldn’t connect the web-service, you will find the logs in /tmp/log at the bootimage. In<br />
such case, there are two possible ways to get the log file:<br />
1. You have a network connection to the client<br />
You may use scp (winscp) to copy the log file from the running boot-image to your computer (login as root with<br />
password linux123).<br />
2. You have no network connection to the client<br />
You have to use a USB stick.<br />
• Login as root with the password linux123<br />
• Connect USB stick to the client and wait some seconds<br />
• use the command sfdisk -l to check on which device you will find your stick<br />
• mount<br />
• copy<br />
• umount<br />
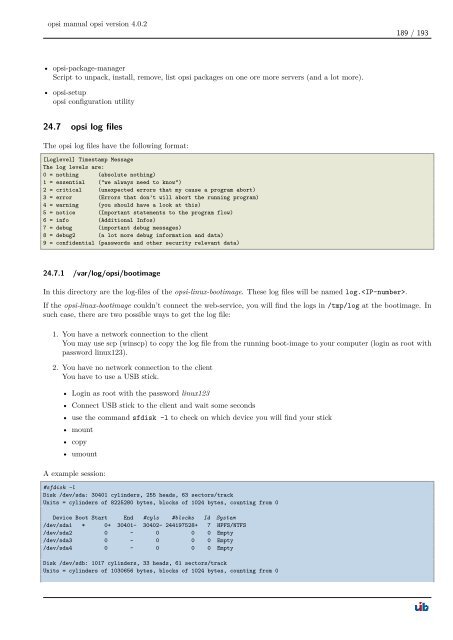
A example session:<br />
#sfdisk -l<br />
Disk /dev/sda: 30401 cylinders, 255 heads, 63 sectors/track<br />
Units = cylinders of 8225280 bytes, blocks of 1024 bytes, counting from 0<br />
Device Boot Start End #cyls #blocks Id System<br />
/dev/sda1 * 0+ 30401- 30402- 244197528+ 7 HPFS/NTFS<br />
/dev/sda2 0 - 0 0 0 Empty<br />
/dev/sda3 0 - 0 0 0 Empty<br />
/dev/sda4 0 - 0 0 0 Empty<br />
Disk /dev/sdb: 1017 cylinders, 33 heads, 61 sectors/track<br />
Units = cylinders of 1030656 bytes, blocks of 1024 bytes, counting from 0