

Curlin 4000 User Manual - Med-E-Quip Locators
Curlin 4000 User Manual - Med-E-Quip Locators
Curlin 4000 User Manual - Med-E-Quip Locators
- No tags were found...

You also want an ePaper? Increase the reach of your titles
YUMPU automatically turns print PDFs into web optimized ePapers that Google loves.
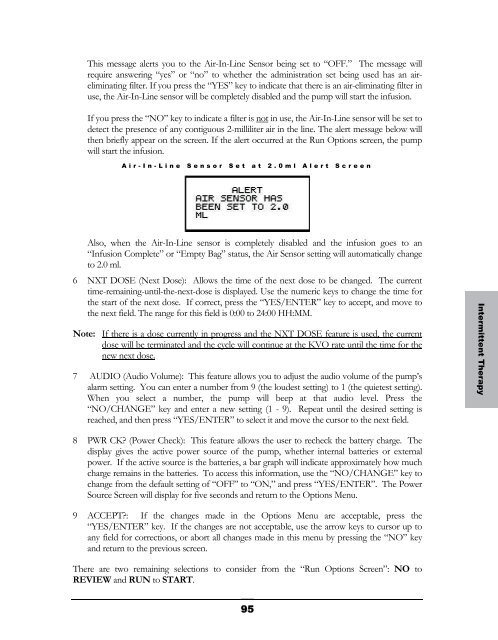
This message alerts you to the Air-In-Line Sensor being set to “OFF.” The message willrequire answering “yes” or “no” to whether the administration set being used has an aireliminatingfilter. If you press the “YES” key to indicate that there is an air-eliminating filter inuse, the Air-In-Line sensor will be completely disabled and the pump will start the infusion.If you press the “NO” key to indicate a filter is not in use, the Air-In-Line sensor will be set todetect the presence of any contiguous 2-milliliter air in the line. The alert message below willthen briefly appear on the screen. If the alert occurred at the Run Options screen, the pumpwill start the infusion.Air-In-Line Sensor Set at 2.0ml Alert ScreenAlso, when the Air-In-Line sensor is completely disabled and the infusion goes to an“Infusion Complete” or “Empty Bag” status, the Air Sensor setting will automatically changeto 2.0 ml.6 NXT DOSE (Next Dose): Allows the time of the next dose to be changed. The currenttime-remaining-until-the-next-dose is displayed. Use the numeric keys to change the time forthe start of the next dose. If correct, press the “YES/ENTER” key to accept, and move tothe next field. The range for this field is 0:00 to 24:00 HH:MM.Note: If there is a dose currently in progress and the NXT DOSE feature is used, the currentdose will be terminated and the cycle will continue at the KVO rate until the time for thenew next dose.7 AUDIO (Audio Volume): This feature allows you to adjust the audio volume of the pump’salarm setting. You can enter a number from 9 (the loudest setting) to 1 (the quietest setting).When you select a number, the pump will beep at that audio level. Press the“NO/CHANGE” key and enter a new setting (1 - 9). Repeat until the desired setting isreached, and then press “YES/ENTER” to select it and move the cursor to the next field.Intermittent Therapy8 PWR CK? (Power Check): This feature allows the user to recheck the battery charge. Thedisplay gives the active power source of the pump, whether internal batteries or externalpower. If the active source is the batteries, a bar graph will indicate approximately how muchcharge remains in the batteries. To access this information, use the “NO/CHANGE” key tochange from the default setting of “OFF” to “ON,” and press “YES/ENTER”. The PowerSource Screen will display for five seconds and return to the Options Menu.9 ACCEPT?: If the changes made in the Options Menu are acceptable, press the“YES/ENTER” key. If the changes are not acceptable, use the arrow keys to cursor up toany field for corrections, or abort all changes made in this menu by pressing the “NO” keyand return to the previous screen.There are two remaining selections to consider from the “Run Options Screen”: NO toREVIEW and RUN to START.95


