Voicemail Pro installation - IP Office Info
Voicemail Pro installation - IP Office Info
Voicemail Pro installation - IP Office Info

Create successful ePaper yourself
Turn your PDF publications into a flip-book with our unique Google optimized e-Paper software.
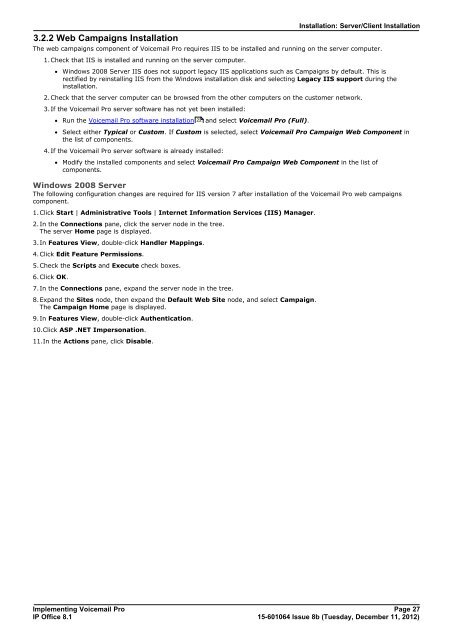
3.2.2 Web Campaigns Installation<br />
Installation: Server/Client Installation<br />
The web campaigns component of <strong>Voicemail</strong> <strong>Pro</strong> requires IIS to be installed and running on the server computer.<br />
1.Check that IIS is installed and running on the server computer.<br />
· Windows 2008 Server IIS does not support legacy IIS applications such as Campaigns by default. This is<br />
rectified by reinstalling IIS from the Windows <strong>installation</strong> disk and selecting Legacy IIS support during the<br />
<strong>installation</strong>.<br />
2.Check that the server computer can be browsed from the other computers on the customer network.<br />
3.If the <strong>Voicemail</strong> <strong>Pro</strong> server software has not yet been installed:<br />
· Run the <strong>Voicemail</strong> <strong>Pro</strong> software <strong>installation</strong> 22<br />
and select <strong>Voicemail</strong> <strong>Pro</strong> (Full).<br />
· Select either Typical or Custom. If Custom is selected, select <strong>Voicemail</strong> <strong>Pro</strong> Campaign Web Component in<br />
the list of components.<br />
4.If the <strong>Voicemail</strong> <strong>Pro</strong> server software is already installed:<br />
· Modify the installed components and select <strong>Voicemail</strong> <strong>Pro</strong> Campaign Web Component in the list of<br />
components.<br />
Windows 2008 Server<br />
The following configuration changes are required for IIS version 7 after <strong>installation</strong> of the <strong>Voicemail</strong> <strong>Pro</strong> web campaigns<br />
component.<br />
1.Click Start | Administrative Tools | Internet <strong>Info</strong>rmation Services (IIS) Manager.<br />
2.In the Connections pane, click the server node in the tree.<br />
The server Home page is displayed.<br />
3.In Features View, double-click Handler Mappings.<br />
4.Click Edit Feature Permissions.<br />
5.Check the Scripts and Execute check boxes.<br />
6.Click OK.<br />
7.In the Connections pane, expand the server node in the tree.<br />
8.Expand the Sites node, then expand the Default Web Site node, and select Campaign.<br />
The Campaign Home page is displayed.<br />
9.In Features View, double-click Authentication.<br />
10.Click ASP .NET Impersonation.<br />
11.In the Actions pane, click Disable.<br />
Implementing <strong>Voicemail</strong> <strong>Pro</strong> Page 27<br />
<strong>IP</strong> <strong>Office</strong> 8.1<br />
15-601064 Issue 8b (Tuesday, December 11, 2012)