Voicemail Pro installation - IP Office Info
Voicemail Pro installation - IP Office Info
Voicemail Pro installation - IP Office Info

Create successful ePaper yourself
Turn your PDF publications into a flip-book with our unique Google optimized e-Paper software.
Installation: Server/Client Installation<br />
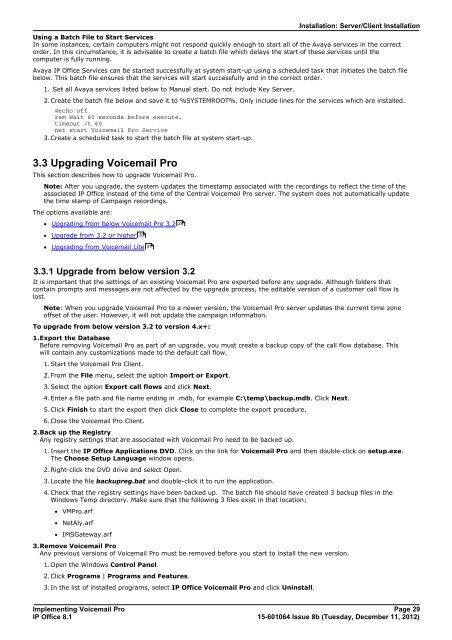
Using a Batch File to Start Services<br />
In some instances, certain computers might not respond quickly enough to start all of the Avaya services in the correct<br />
order. In this circumstance, it is advisable to create a batch file which delays the start of these services until the<br />
computer is fully running.<br />
Avaya <strong>IP</strong> <strong>Office</strong> Services can be started successfully at system start-up using a scheduled task that initiates the batch file<br />
below. This batch file ensures that the services will start successfully and in the correct order.<br />
1. Set all Avaya services listed below to Manual start. Do not include Key Server.<br />
2.Create the batch file below and save it to %SYSTEMROOT%. Only include lines for the services which are installed.<br />
@echo off<br />
rem Wait 60 seconds before execute.<br />
timeout /t 60<br />
net start <strong>Voicemail</strong> <strong>Pro</strong> Service<br />
3.Create a scheduled task to start the batch file at system start-up.<br />
3.3 Upgrading <strong>Voicemail</strong> <strong>Pro</strong><br />
This section describes how to upgrade <strong>Voicemail</strong> <strong>Pro</strong>.<br />
Note: After you upgrade, the system updates the timestamp associated with the recordings to reflect the time of the<br />
associated <strong>IP</strong> <strong>Office</strong> instead of the time of the Central <strong>Voicemail</strong> <strong>Pro</strong> server. The system does not automatically update<br />
the time stamp of Campaign recordings.<br />
The options available are:<br />
· Upgrading from below <strong>Voicemail</strong> <strong>Pro</strong> 3.2<br />
· Upgrade from 3.2 or higher<br />
· Upgrading from <strong>Voicemail</strong> Lite<br />
3.3.1 Upgrade from below version 3.2<br />
It is important that the settings of an existing <strong>Voicemail</strong> <strong>Pro</strong> are exported before any upgrade. Although folders that<br />
contain prompts and messages are not affected by the upgrade process, the editable version of a customer call flow is<br />
lost.<br />
Note: When you upgrade <strong>Voicemail</strong> <strong>Pro</strong> to a newer version, the <strong>Voicemail</strong> <strong>Pro</strong> server updates the current time zone<br />
offset of the user. However, it will not update the campaign information.<br />
To upgrade from below version 3.2 to version 4.x+:<br />
1.Export the Database<br />
Before removing <strong>Voicemail</strong> <strong>Pro</strong> as part of an upgrade, you must create a backup copy of the call flow database. This<br />
will contain any customizations made to the default call flow.<br />
1.Start the <strong>Voicemail</strong> <strong>Pro</strong> Client.<br />
2.From the File menu, select the option Import or Export.<br />
3.Select the option Export call flows and click Next.<br />
4.Enter a file path and file name ending in .mdb, for example C:\temp\backup.mdb. Click Next.<br />
5.Click Finish to start the export then click Close to complete the export procedure.<br />
6.Close the <strong>Voicemail</strong> <strong>Pro</strong> Client.<br />
2.Back up the Registry<br />
Any registry settings that are associated with <strong>Voicemail</strong> <strong>Pro</strong> need to be backed up.<br />
1.Insert the <strong>IP</strong> <strong>Office</strong> Applications DVD. Click on the link for <strong>Voicemail</strong> <strong>Pro</strong> and then double-click on setup.exe.<br />
The Choose Setup Language window opens.<br />
2.Right-click the DVD drive and select Open.<br />
3.Locate the file backupreg.bat and double-click it to run the application.<br />
4.Check that the registry settings have been backed up. The batch file should have created 3 backup files in the<br />
Windows Temp directory. Make sure that the following 3 files exist in that location:<br />
· VM<strong>Pro</strong>.arf<br />
· NetAly.arf<br />
· IMSGateway.arf<br />
3.Remove <strong>Voicemail</strong> <strong>Pro</strong><br />
Any previous versions of <strong>Voicemail</strong> <strong>Pro</strong> must be removed before you start to install the new version.<br />
1.Open the Windows Control Panel.<br />
2.Click <strong>Pro</strong>grams | <strong>Pro</strong>grams and Features.<br />
30<br />
31<br />
29<br />
3.In the list of installed programs, select <strong>IP</strong> <strong>Office</strong> <strong>Voicemail</strong> <strong>Pro</strong> and click Uninstall.<br />
Implementing <strong>Voicemail</strong> <strong>Pro</strong> Page 29<br />
<strong>IP</strong> <strong>Office</strong> 8.1<br />
15-601064 Issue 8b (Tuesday, December 11, 2012)