Voicemail Pro installation - IP Office Info
Voicemail Pro installation - IP Office Info
Voicemail Pro installation - IP Office Info

Create successful ePaper yourself
Turn your PDF publications into a flip-book with our unique Google optimized e-Paper software.
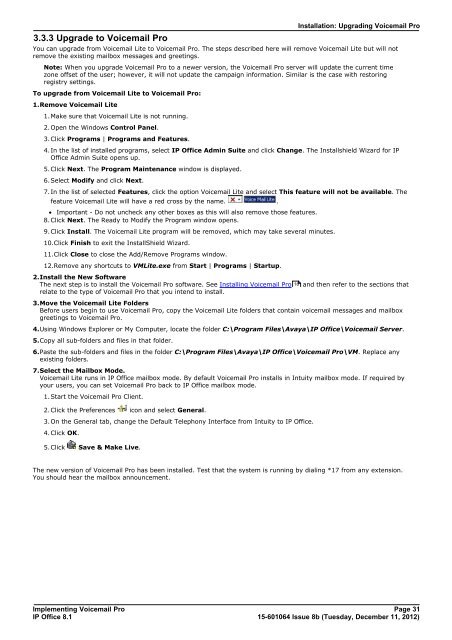
3.3.3 Upgrade to <strong>Voicemail</strong> <strong>Pro</strong><br />
Installation: Upgrading <strong>Voicemail</strong> <strong>Pro</strong><br />
You can upgrade from <strong>Voicemail</strong> Lite to <strong>Voicemail</strong> <strong>Pro</strong>. The steps described here will remove <strong>Voicemail</strong> Lite but will not<br />
remove the existing mailbox messages and greetings.<br />
Note: When you upgrade <strong>Voicemail</strong> <strong>Pro</strong> to a newer version, the <strong>Voicemail</strong> <strong>Pro</strong> server will update the current time<br />
zone offset of the user; however, it will not update the campaign information. Similar is the case with restoring<br />
registry settings.<br />
To upgrade from <strong>Voicemail</strong> Lite to <strong>Voicemail</strong> <strong>Pro</strong>:<br />
1.Remove <strong>Voicemail</strong> Lite<br />
1.Make sure that <strong>Voicemail</strong> Lite is not running.<br />
2.Open the Windows Control Panel.<br />
3.Click <strong>Pro</strong>grams | <strong>Pro</strong>grams and Features.<br />
4.In the list of installed programs, select <strong>IP</strong> <strong>Office</strong> Admin Suite and click Change. The Installshield Wizard for <strong>IP</strong><br />
<strong>Office</strong> Admin Suite opens up.<br />
5.Click Next. The <strong>Pro</strong>gram Maintenance window is displayed.<br />
6.Select Modify and click Next.<br />
7.In the list of selected Features, click the option <strong>Voicemail</strong> Lite and select This feature will not be available. The<br />
feature <strong>Voicemail</strong> Lite will have a red cross by the name. .<br />
· Important - Do not uncheck any other boxes as this will also remove those features.<br />
8.Click Next. The Ready to Modify the <strong>Pro</strong>gram window opens.<br />
9.Click Install. The <strong>Voicemail</strong> Lite program will be removed, which may take several minutes.<br />
10.Click Finish to exit the InstallShield Wizard.<br />
11.Click Close to close the Add/Remove <strong>Pro</strong>grams window.<br />
12.Remove any shortcuts to VMLite.exe from Start | <strong>Pro</strong>grams | Startup.<br />
2.Install the New Software<br />
The next step is to install the <strong>Voicemail</strong> <strong>Pro</strong> software. See Installing <strong>Voicemail</strong> <strong>Pro</strong> 16<br />
and then refer to the sections that<br />
relate to the type of <strong>Voicemail</strong> <strong>Pro</strong> that you intend to install.<br />
3.Move the <strong>Voicemail</strong> Lite Folders<br />
Before users begin to use <strong>Voicemail</strong> <strong>Pro</strong>, copy the <strong>Voicemail</strong> Lite folders that contain voicemail messages and mailbox<br />
greetings to <strong>Voicemail</strong> <strong>Pro</strong>.<br />
4.Using Windows Explorer or My Computer, locate the folder C:\<strong>Pro</strong>gram Files\Avaya\<strong>IP</strong> <strong>Office</strong>\<strong>Voicemail</strong> Server.<br />
5.Copy all sub-folders and files in that folder.<br />
6.Paste the sub-folders and files in the folder C:\<strong>Pro</strong>gram Files\Avaya\<strong>IP</strong> <strong>Office</strong>\<strong>Voicemail</strong> <strong>Pro</strong>\VM. Replace any<br />
existing folders.<br />
7.Select the Mailbox Mode.<br />
<strong>Voicemail</strong> Lite runs in <strong>IP</strong> <strong>Office</strong> mailbox mode. By default <strong>Voicemail</strong> <strong>Pro</strong> installs in Intuity mailbox mode. If required by<br />
your users, you can set <strong>Voicemail</strong> <strong>Pro</strong> back to <strong>IP</strong> <strong>Office</strong> mailbox mode.<br />
1.Start the <strong>Voicemail</strong> <strong>Pro</strong> Client.<br />
2.Click the Preferences icon and select General.<br />
3.On the General tab, change the Default Telephony Interface from Intuity to <strong>IP</strong> <strong>Office</strong>.<br />
4.Click OK.<br />
5.Click Save & Make Live.<br />
The new version of <strong>Voicemail</strong> <strong>Pro</strong> has been installed. Test that the system is running by dialing *17 from any extension.<br />
You should hear the mailbox announcement.<br />
Implementing <strong>Voicemail</strong> <strong>Pro</strong> Page 31<br />
<strong>IP</strong> <strong>Office</strong> 8.1<br />
15-601064 Issue 8b (Tuesday, December 11, 2012)