MAGic 10.0 User's Guide (PDF) - Freedom Scientific
MAGic 10.0 User's Guide (PDF) - Freedom Scientific
MAGic 10.0 User's Guide (PDF) - Freedom Scientific

You also want an ePaper? Increase the reach of your titles
YUMPU automatically turns print PDFs into web optimized ePapers that Google loves.
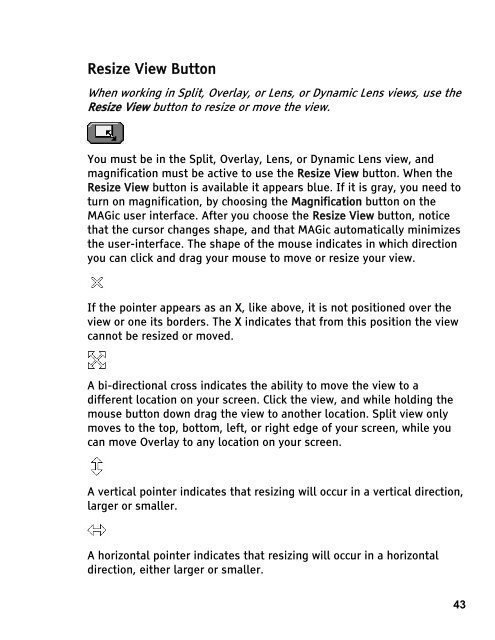
Resize View Button<br />
When working in Split, Overlay, or Lens, or Dynamic Lens views, use the<br />
Resize View button to resize or move the view.<br />
You must be in the Split, Overlay, Lens, or Dynamic Lens view, and<br />
magnification must be active to use the Resize View button. When the<br />
Resize View button is available it appears blue. If it is gray, you need to<br />
turn on magnification, by choosing the Magnification button on the<br />
<strong>MAGic</strong> user interface. After you choose the Resize View button, notice<br />
that the cursor changes shape, and that <strong>MAGic</strong> automatically minimizes<br />
the user-interface. The shape of the mouse indicates in which direction<br />
you can click and drag your mouse to move or resize your view.<br />
If the pointer appears as an X, like above, it is not positioned over the<br />
view or one its borders. The X indicates that from this position the view<br />
cannot be resized or moved.<br />
A bi-directional cross indicates the ability to move the view to a<br />
different location on your screen. Click the view, and while holding the<br />
mouse button down drag the view to another location. Split view only<br />
moves to the top, bottom, left, or right edge of your screen, while you<br />
can move Overlay to any location on your screen.<br />
A vertical pointer indicates that resizing will occur in a vertical direction,<br />
larger or smaller.<br />
A horizontal pointer indicates that resizing will occur in a horizontal<br />
direction, either larger or smaller.<br />
43