MAGic 10.0 User's Guide (PDF) - Freedom Scientific
MAGic 10.0 User's Guide (PDF) - Freedom Scientific
MAGic 10.0 User's Guide (PDF) - Freedom Scientific
You also want an ePaper? Increase the reach of your titles
YUMPU automatically turns print PDFs into web optimized ePapers that Google loves.
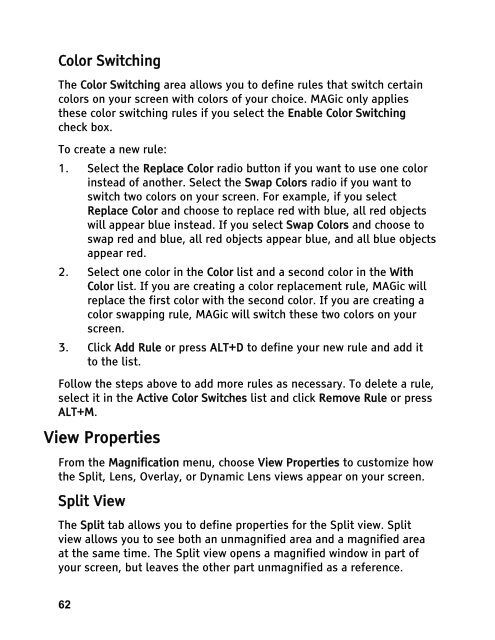
Color Switching<br />
The Color Switching area allows you to define rules that switch certain<br />
colors on your screen with colors of your choice. <strong>MAGic</strong> only applies<br />
these color switching rules if you select the Enable Color Switching<br />
check box.<br />
To create a new rule:<br />
1. Select the Replace Color radio button if you want to use one color<br />
instead of another. Select the Swap Colors radio if you want to<br />
switch two colors on your screen. For example, if you select<br />
Replace Color and choose to replace red with blue, all red objects<br />
will appear blue instead. If you select Swap Colors and choose to<br />
swap red and blue, all red objects appear blue, and all blue objects<br />
appear red.<br />
2. Select one color in the Color list and a second color in the With<br />
Color list. If you are creating a color replacement rule, <strong>MAGic</strong> will<br />
replace the first color with the second color. If you are creating a<br />
color swapping rule, <strong>MAGic</strong> will switch these two colors on your<br />
screen.<br />
3. Click Add Rule or press ALT+D to define your new rule and add it<br />
to the list.<br />
Follow the steps above to add more rules as necessary. To delete a rule,<br />
select it in the Active Color Switches list and click Remove Rule or press<br />
ALT+M.<br />
View Properties<br />
From the Magnification menu, choose View Properties to customize how<br />
the Split, Lens, Overlay, or Dynamic Lens views appear on your screen.<br />
Split View<br />
The Split tab allows you to define properties for the Split view. Split<br />
view allows you to see both an unmagnified area and a magnified area<br />
at the same time. The Split view opens a magnified window in part of<br />
your screen, but leaves the other part unmagnified as a reference.<br />
62


