

Thermo Scientific TVA-1000B Instruction Manual - Geotech ...
Thermo Scientific TVA-1000B Instruction Manual - Geotech ...
Thermo Scientific TVA-1000B Instruction Manual - Geotech ...

You also want an ePaper? Increase the reach of your titles
YUMPU automatically turns print PDFs into web optimized ePapers that Google loves.
Display Menus MI 611-185 – June 1996<br />
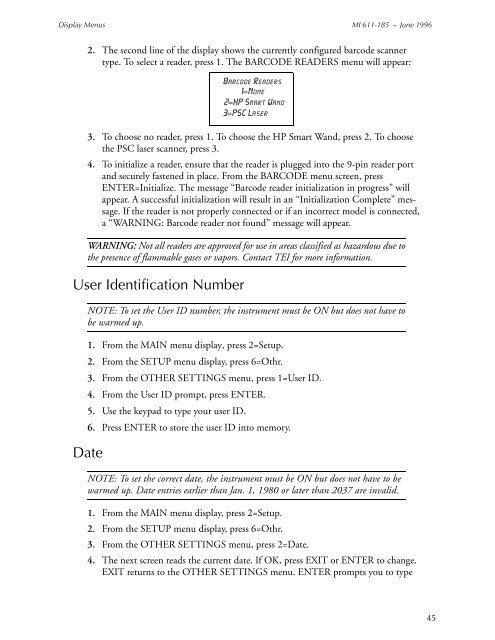
2. The second line of the display shows the currently configured barcode scanner<br />
type. To select a reader, press 1. The BARCODE READERS menu will appear:<br />
3. To choose no reader, press 1. To choose the HP Smart Wand, press 2. To choose<br />
the PSC laser scanner, press 3.<br />
4. To initialize a reader, ensure that the reader is plugged into the 9-pin reader port<br />
and securely fastened in place. From the BARCODE menu screen, press<br />
ENTER=Initialize. The message “Barcode reader initialization in progress” will<br />
appear. A successful initialization will result in an “Initialization Complete” message.<br />
If the reader is not properly connected or if an incorrect model is connected,<br />
a “WARNING: Barcode reader not found” message will appear.<br />
WARNING: Not all readers are approved for use in areas classified as hazardous due to<br />
the presence of flammable gases or vapors. Contact TEI for more information.<br />
User Identification Number<br />
NOTE: To set the User ID number, the instrument must be ON but does not have to<br />
be warmed up.<br />
1. From the MAIN menu display, press 2=Setup.<br />
2. From the SETUP menu display, press 6=Othr.<br />
3. From the OTHER SETTINGS menu, press 1=User ID.<br />
4. From the User ID prompt, press ENTER.<br />
5. Use the keypad to type your user ID.<br />
6. Press ENTER to store the user ID into memory.<br />
Date<br />
Barcode Readers<br />
1=None<br />
2=HP Smart Wand<br />
3=PSC Laser<br />
NOTE: To set the correct date, the instrument must be ON but does not have to be<br />
warmed up. Date entries earlier than Jan. 1, 1980 or later than 2037 are invalid.<br />
1. From the MAIN menu display, press 2=Setup.<br />
2. From the SETUP menu display, press 6=Othr.<br />
3. From the OTHER SETTINGS menu, press 2=Date.<br />
4. The next screen reads the current date. If OK, press EXIT or ENTER to change.<br />
EXIT returns to the OTHER SETTINGS menu. ENTER prompts you to type<br />
45


