

MicroStation System, MicroLog Version 4.2 - DTU Systems Biology ...
MicroStation System, MicroLog Version 4.2 - DTU Systems Biology ...
MicroStation System, MicroLog Version 4.2 - DTU Systems Biology ...

You also want an ePaper? Increase the reach of your titles
YUMPU automatically turns print PDFs into web optimized ePapers that Google loves.
Combining Data Files<br />
Data Management and Compiling Databases<br />
1. Click on the Data Management File field and a Data File dialog<br />
box appears which lists available Data files. Click on the name of a<br />
non-Frozen Data File (non-original data file or backup data file) to<br />
select that file as the destination file.<br />
2. Click Open.<br />
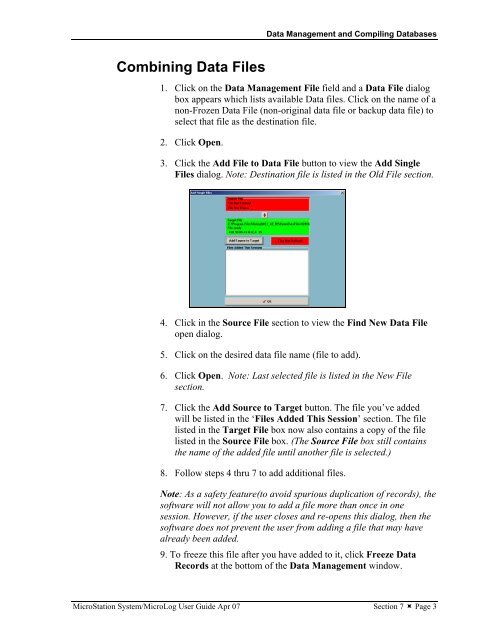
3. Click the Add File to Data File button to view the Add Single<br />
Files dialog. Note: Destination file is listed in the Old File section.<br />
4. Click in the Source File section to view the Find New Data File<br />
open dialog.<br />
5. Click on the desired data file name (file to add).<br />
6. Click Open. Note: Last selected file is listed in the New File<br />
section.<br />
7. Click the Add Source to Target button. The file you’ve added<br />
will be listed in the ‘Files Added This Session’ section. The file<br />
listed in the Target File box now also contains a copy of the file<br />
listed in the Source File box. (The Source File box still contains<br />
the name of the added file until another file is selected.)<br />
8. Follow steps 4 thru 7 to add additional files.<br />
Note: As a safety feature(to avoid spurious duplication of records), the<br />
software will not allow you to add a file more than once in one<br />
session. However, if the user closes and re-opens this dialog, then the<br />
software does not prevent the user from adding a file that may have<br />
already been added.<br />
9. To freeze this file after you have added to it, click Freeze Data<br />
Records at the bottom of the Data Management window.<br />
<strong>MicroStation</strong> <strong>System</strong>/<strong>MicroLog</strong> User Guide Apr 07 Section 7 � Page 3