Introduction to the Agilent 7100 Capillary Electrophoresis System
Introduction to the Agilent 7100 Capillary Electrophoresis System
Introduction to the Agilent 7100 Capillary Electrophoresis System
Create successful ePaper yourself
Turn your PDF publications into a flip-book with our unique Google optimized e-Paper software.
Controlling <strong>the</strong> <strong>Agilent</strong> CE Instrument<br />
Using <strong>the</strong> <strong>Agilent</strong> <strong>7100</strong> <strong>Capillary</strong> <strong>Electrophoresis</strong> <strong>System</strong> 5<br />
Controlling <strong>the</strong> <strong>Agilent</strong> CE Instrument<br />
Before You Start <strong>the</strong> <strong>Agilent</strong> CE Instrument<br />
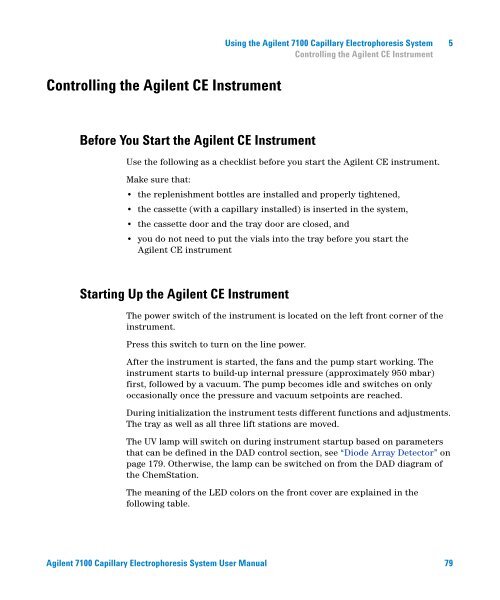
Use <strong>the</strong> following as a checklist before you start <strong>the</strong> <strong>Agilent</strong> CE instrument.<br />
Make sure that:<br />
• <strong>the</strong> replenishment bottles are installed and properly tightened,<br />
• <strong>the</strong> cassette (with a capillary installed) is inserted in <strong>the</strong> system,<br />
• <strong>the</strong> cassette door and <strong>the</strong> tray door are closed, and<br />
• you do not need <strong>to</strong> put <strong>the</strong> vials in<strong>to</strong> <strong>the</strong> tray before you start <strong>the</strong><br />
<strong>Agilent</strong> CE instrument<br />
Starting Up <strong>the</strong> <strong>Agilent</strong> CE Instrument<br />
The power switch of <strong>the</strong> instrument is located on <strong>the</strong> left front corner of <strong>the</strong><br />
instrument.<br />
Press this switch <strong>to</strong> turn on <strong>the</strong> line power.<br />
After <strong>the</strong> instrument is started, <strong>the</strong> fans and <strong>the</strong> pump start working. The<br />
instrument starts <strong>to</strong> build-up internal pressure (approximately 950 mbar)<br />
first, followed by a vacuum. The pump becomes idle and switches on only<br />
occasionally once <strong>the</strong> pressure and vacuum setpoints are reached.<br />
During initialization <strong>the</strong> instrument tests different functions and adjustments.<br />
The tray as well as all three lift stations are moved.<br />
The UV lamp will switch on during instrument startup based on parameters<br />
that can be defined in <strong>the</strong> DAD control section, see “Diode Array Detec<strong>to</strong>r” on<br />
page 179. O<strong>the</strong>rwise, <strong>the</strong> lamp can be switched on from <strong>the</strong> DAD diagram of<br />
<strong>the</strong> ChemStation.<br />
The meaning of <strong>the</strong> LED colors on <strong>the</strong> front cover are explained in <strong>the</strong><br />
following table.<br />
<strong>Agilent</strong> <strong>7100</strong> <strong>Capillary</strong> <strong>Electrophoresis</strong> <strong>System</strong> User Manual 79


