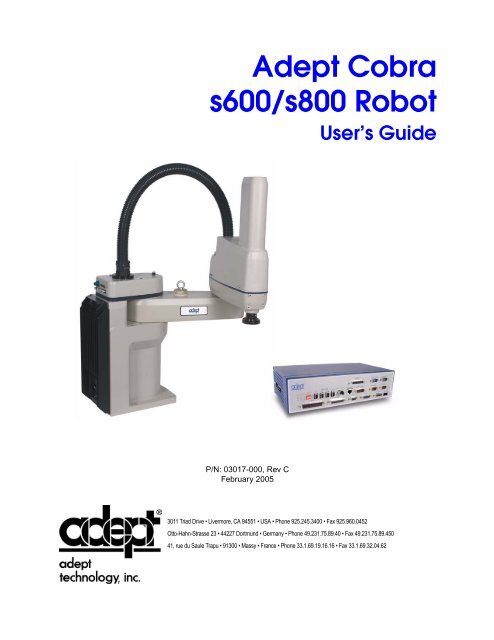
- Page 1: Adept Cobr
- Page 5 and 6: Table of Contents 1 Introduction .
- Page 7 and 8: Table of Contents Brake Release But
- Page 9 and 10: Table of Contents Lubrication . . .
- Page 11 and 12: List of Figures Figure 1-1. <strong
- Page 13 and 14: List of Figures Figure 10-16. Bello
- Page 15 and 16: Introduction 1 1.1 Product Descript
- Page 17 and 18: R Product Description Adept
- Page 19 and 20: How Can I Get Help? 1.3 How Can I G
- Page 21 and 22: Safety 2 2.1 Warnings, Cautions, an
- Page 23 and 24: Warning Labels on the Robot
- Page 25 and 26: Precautions and Required Safeguards
- Page 27 and 28: Robot Modification
- Page 29 and 30: Thermal Hazard 2.9 Thermal Hazard W
- Page 31 and 32: Risks Due to Incorrect Installation
- Page 33 and 34: Robot Installation
- Page 35 and 36: Environmental and Facility Requirem
- Page 37 and 38: Mounting the Robot
- Page 39 and 40: OK SF HPE ES 1 2 3 R LAN HD R SW1 1
- Page 41 and 42: Installing the SmartController 4.3
- Page 43 and 44: Connecting 24 VDC Power to
- Page 45 and 46: Connecting 200-240 VAC Power to <st
- Page 47 and 48: Connecting 200-240 VAC Power to <st
- Page 49 and 50: Grounding the Adept</strong
- Page 51 and 52: System Operation 5 5.1 Robo
- Page 53 and 54:
Using the Brake Release Button 5.3
- Page 55 and 56:
Connecting Digital I/O to the Syste
- Page 57 and 58:
Using Digital I/O on Robot<
- Page 59 and 60:
Using Digital I/O on Robot<
- Page 61 and 62:
Using Digital I/O on Robot<
- Page 63 and 64:
Commissioning the System • Connec
- Page 65 and 66:
Optional Equipment Installation 6 6
- Page 67 and 68:
User Connections on Robot</
- Page 69 and 70:
Internal User Connectors SOLND Conn
- Page 71 and 72:
Internal User Connectors Internal U
- Page 73 and 74:
Mounting Locations for External Equ
- Page 75 and 76:
Installing Robot S
- Page 77 and 78:
Installing Robot S
- Page 79 and 80:
DeviceNet Communication Link Camera
- Page 81 and 82:
Installing Adjustable Hardstops 6.9
- Page 83 and 84:
Installing Adjustable Hardstops 5.
- Page 85 and 86:
Installing Adjustable Hardstops Joi
- Page 87 and 88:
Installing Adjustable Hardstops Joi
- Page 89 and 90:
Installing Adjustable Hardstops 8.
- Page 91 and 92:
Maintenance 7 7.1 Periodic Maintena
- Page 93 and 94:
Lubricate Joint 3 Ball Screw 7.5 Lu
- Page 95 and 96:
Replacing the SmartAmp AIB Chassis
- Page 97 and 98:
Replacing the SmartAmp AIB Chassis
- Page 99 and 100:
Replacing Encoder Battery 7.7 Repla
- Page 101 and 102:
Technical Specifications 8 8.1 Dime
- Page 103 and 104:
Dimension Drawings Cobra</s
- Page 105 and 106:
Dimension Drawings 25 4X M4x0.7 - 6
- Page 107 and 108:
Dimension Drawings Maximum Radial R
- Page 109 and 110:
Robot Specificatio
- Page 111 and 112:
Cleanroom Robots 9
- Page 113 and 114:
Exclusions and Incom</stron
- Page 115 and 116:
IP 65 Option 10 10.1 Cobra<
- Page 117 and 118:
Installing Cable Seal Assembly b. T
- Page 119 and 120:
Robot Outer Link C
- Page 121 and 122:
Customer Requirements Pressurizing
- Page 123 and 124:
User Connectors User Air Lines On t
- Page 125 and 126:
Dimension Drawing for Cable Seal As
- Page 127 and 128:
OK SF HPE ES 1 2 3 R LAN HD R SW1 1
- Page 129 and 130:
GND +24V DC INPUT (24 VDC) AC INPUT
- Page 131 and 132:
Digital I/O Block Configuration 11.
- Page 133 and 134:
Digital I/O Block Configuration sDI
- Page 135 and 136:
Using CONFIG_C to Configure I/O Fig
- Page 137 and 138:
System Startup Procedure NOTE: Afte
- Page 139 and 140:
Emergency Stop Circuit Shuts Off Bo
- Page 141 and 142:
Index Numerics 200/240VAC connector
- Page 143 and 144:
Index M maintenance lubricating Joi
- Page 145 and 146:
Revision History Adept</str
- Page 148:
P/N: 03017-000, Rev C 3011 Triad Dr