Manual - 8500A Series Peak Power Meter - Giga-tronics
Manual - 8500A Series Peak Power Meter - Giga-tronics
Manual - 8500A Series Peak Power Meter - Giga-tronics
You also want an ePaper? Increase the reach of your titles
YUMPU automatically turns print PDFs into web optimized ePapers that Google loves.
<strong>Series</strong> <strong>8500A</strong> <strong>Peak</strong> <strong>Power</strong> <strong>Meter</strong>s<br />
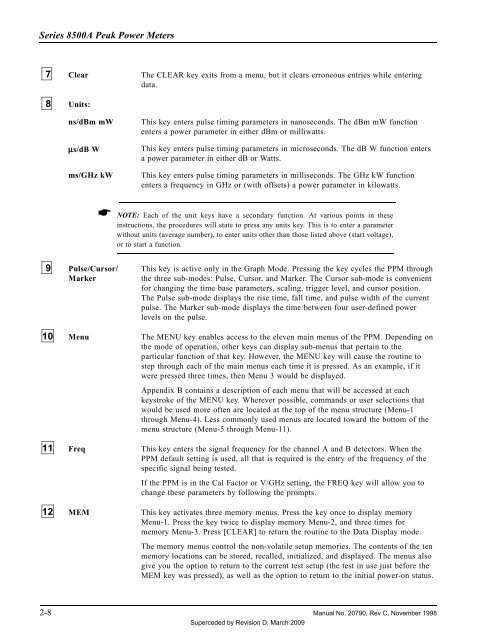
7 Clear The CLEAR key exits from a menu, but it clears erroneous entries while entering<br />
data.<br />
8 Units:<br />
ns/dBm mW<br />
µs/dB W<br />
ms/GHz kW<br />
This key enters pulse timing parameters in nanoseconds. The dBm mW function<br />
enters a power parameter in either dBm or milliwatts.<br />
This key enters pulse timing parameters in microseconds. The dB W function enters<br />
a power parameter in either dB or Watts.<br />
This key enters pulse timing parameters in milliseconds. The GHz kW function<br />
enters a frequency in GHz or (with offsets) a power parameter in kilowatts.<br />
☛ NOTE: Each of the unit keys have a secondary function. At various points in these<br />
instructions, the procedures will state to press any units key. This is to enter a parameter<br />
without units (average number), to enter units other than those listed above (start voltage),<br />
or to start a function.<br />
9 Pulse/Cursor/<br />
Marker<br />
This key is active only in the Graph Mode. Pressing the key cycles the PPM through<br />
the three sub-modes: Pulse, Cursor, and Marker. The Cursor sub-mode is convenient<br />
for changing the time base parameters, scaling, trigger level, and cursor position.<br />
The Pulse sub-mode displays the rise time, fall time, and pulse width of the current<br />
pulse. The Marker sub-mode displays the time between four user-defined power<br />
levels on the pulse.<br />
10 Menu The MENU key enables access to the eleven main menus of the PPM. Depending on<br />
the mode of operation, other keys can display sub-menus that pertain to the<br />
particular function of that key. However, the MENU key will cause the routine to<br />
step through each of the main menus each time it is pressed. As an example, if it<br />
were pressed three times, then Menu 3 would be displayed.<br />
Appendix B contains a description of each menu that will be accessed at each<br />
keystroke of the MENU key. Wherever possible, commands or user selections that<br />
would be used more often are located at the top of the menu structure (Menu-1<br />
through Menu-4). Less commonly used menus are located toward the bottom of the<br />
menu structure (Menu-5 through Menu-11).<br />
11 Freq This key enters the signal frequency for the channel A and B detectors. When the<br />
PPM default setting is used, all that is required is the entry of the frequency of the<br />
specific signal being tested.<br />
If the PPM is in the Cal Factor or V/GHz setting, the FREQ key will allow you to<br />
change these parameters by following the prompts.<br />
12 MEM This key activates three memory menus. Press the key once to display memory<br />
Menu-1. Press the key twice to display memory Menu-2, and three times for<br />
memory Menu-3. Press [CLEAR] to return the routine to the Data Display mode.<br />
The memory menus control the non-volatile setup memories. The contents of the ten<br />
memory locations can be stored, recalled, initialized, and displayed. The menus also<br />
give you the option to return to the current test setup (the test in use just before the<br />
MEM key was pressed), as well as the option to return to the initial power-on status.<br />
2-8 <strong>Manual</strong> No. 20790, Rev C, November 1998<br />
Superceded by Revision D, March 2009


