Apple MainStage 3 Instruments - MainStage 3 Instruments
Apple MainStage 3 Instruments - MainStage 3 Instruments
Apple MainStage 3 Instruments - MainStage 3 Instruments
You also want an ePaper? Increase the reach of your titles
YUMPU automatically turns print PDFs into web optimized ePapers that Google loves.
mm<br />
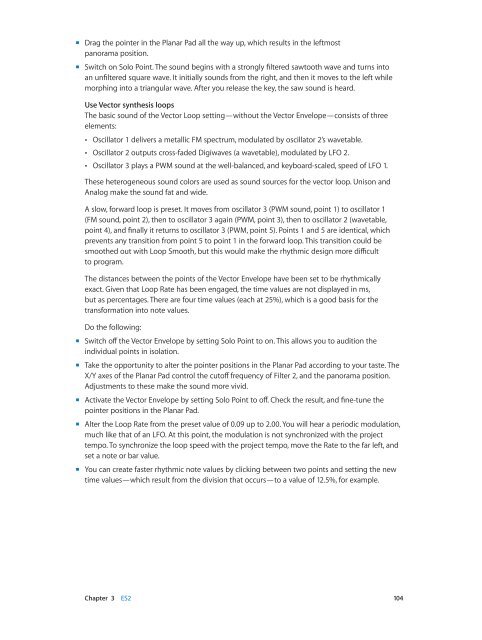
Drag the pointer in the Planar Pad all the way up, which results in the leftmost<br />
panorama position.<br />
mm<br />
Switch on Solo Point. The sound begins with a strongly filtered sawtooth wave and turns into<br />
an unfiltered square wave. It initially sounds from the right, and then it moves to the left while<br />
morphing into a triangular wave. After you release the key, the saw sound is heard.<br />
Use Vector synthesis loops<br />
The basic sound of the Vector Loop setting—without the Vector Envelope—consists of three<br />
elements:<br />
••<br />
Oscillator 1 delivers a metallic FM spectrum, modulated by oscillator 2’s wavetable.<br />
••<br />
Oscillator 2 outputs cross-faded Digiwaves (a wavetable), modulated by LFO 2.<br />
••<br />
Oscillator 3 plays a PWM sound at the well-balanced, and keyboard-scaled, speed of LFO 1.<br />
These heterogeneous sound colors are used as sound sources for the vector loop. Unison and<br />
Analog make the sound fat and wide.<br />
A slow, forward loop is preset. It moves from oscillator 3 (PWM sound, point 1) to oscillator 1<br />
(FM sound, point 2), then to oscillator 3 again (PWM, point 3), then to oscillator 2 (wavetable,<br />
point 4), and finally it returns to oscillator 3 (PWM, point 5). Points 1 and 5 are identical, which<br />
prevents any transition from point 5 to point 1 in the forward loop. This transition could be<br />
smoothed out with Loop Smooth, but this would make the rhythmic design more difficult<br />
to program.<br />
The distances between the points of the Vector Envelope have been set to be rhythmically<br />
exact. Given that Loop Rate has been engaged, the time values are not displayed in ms,<br />
but as percentages. There are four time values (each at 25%), which is a good basis for the<br />
transformation into note values.<br />
Do the following:<br />
mm<br />
Switch off the Vector Envelope by setting Solo Point to on. This allows you to audition the<br />
individual points in isolation.<br />
mm<br />
Take the opportunity to alter the pointer positions in the Planar Pad according to your taste. The<br />
X/Y axes of the Planar Pad control the cutoff frequency of Filter 2, and the panorama position.<br />
Adjustments to these make the sound more vivid.<br />
mm<br />
Activate the Vector Envelope by setting Solo Point to off. Check the result, and fine-tune the<br />
pointer positions in the Planar Pad.<br />
mm<br />
Alter the Loop Rate from the preset value of 0.09 up to 2.00. You will hear a periodic modulation,<br />
much like that of an LFO. At this point, the modulation is not synchronized with the project<br />
tempo. To synchronize the loop speed with the project tempo, move the Rate to the far left, and<br />
set a note or bar value.<br />
mm<br />
You can create faster rhythmic note values by clicking between two points and setting the new<br />
time values—which result from the division that occurs—to a value of 12.5%, for example.<br />
Chapter 3 ES2 104


