

Apple MainStage 3 Instruments - MainStage 3 Instruments
Apple MainStage 3 Instruments - MainStage 3 Instruments
Apple MainStage 3 Instruments - MainStage 3 Instruments

Create successful ePaper yourself
Turn your PDF publications into a flip-book with our unique Google optimized e-Paper software.
Create EXS24 mkII groups<br />
Imagine a drum kit with a number of different samples used in several zones, mapped across<br />
the keyboard. You might decide that you want to change the parameters of each sample<br />
independently—to alter the decay of the snare, or to use a different cutoff setting for the hi-hat<br />
samples, for example.<br />
In this context, EXS24 mkII’s groups feature is useful. Groups allow for flexible sample<br />
organization. You can define as many groups as you need and assign each zone to one of these<br />
groups. In a drum kit, for example, you could assign all kick drums to Group 1, all snares to Group<br />
2, all hi-hats to Group 3, and so on.<br />
A group makes it possible to define a velocity range for all assigned zones, allowing you to<br />
specify a velocity window in which the grouped zones will be triggered, for example. Each<br />
group also features offset parameters for the amplitude envelope and filter settings made in the<br />
Parameter window.<br />
You can also play all zones without defining and assigning any groups—in this case, changes to<br />
parameter settings affect all samples (in all zones) equally.<br />
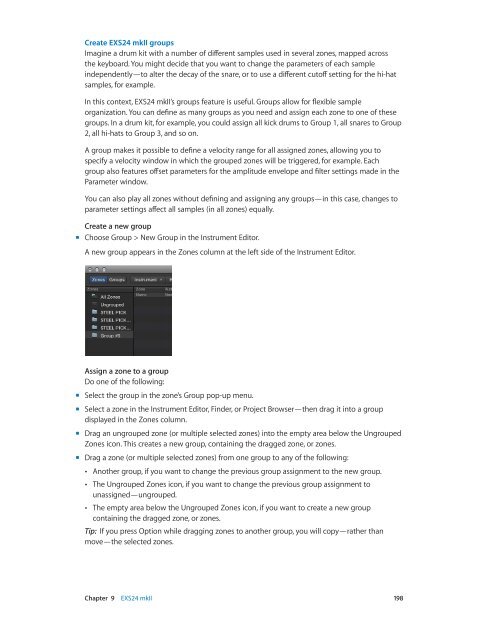
Create a new group<br />
mm<br />
Choose Group > New Group in the Instrument Editor.<br />
A new group appears in the Zones column at the left side of the Instrument Editor.<br />
Assign a zone to a group<br />
Do one of the following:<br />
mm<br />
Select the group in the zone’s Group pop-up menu.<br />
mm<br />
Select a zone in the Instrument Editor, Finder, or Project Browser—then drag it into a group<br />
displayed in the Zones column.<br />
mm<br />
Drag an ungrouped zone (or multiple selected zones) into the empty area below the Ungrouped<br />
Zones icon. This creates a new group, containing the dragged zone, or zones.<br />
mm<br />
Drag a zone (or multiple selected zones) from one group to any of the following:<br />
••<br />
Another group, if you want to change the previous group assignment to the new group.<br />
••<br />
The Ungrouped Zones icon, if you want to change the previous group assignment to<br />
unassigned—ungrouped.<br />
••<br />
The empty area below the Ungrouped Zones icon, if you want to create a new group<br />
containing the dragged zone, or zones.<br />
Tip: If you press Option while dragging zones to another group, you will copy—rather than<br />
move—the selected zones.<br />
Chapter 9 EXS24 mkII 198


