SIREC D Display Recorder 7ND4000
SIREC D Display Recorder 7ND4000
SIREC D Display Recorder 7ND4000
Erfolgreiche ePaper selbst erstellen
Machen Sie aus Ihren PDF Publikationen ein blätterbares Flipbook mit unserer einzigartigen Google optimierten e-Paper Software.
Operation<br />
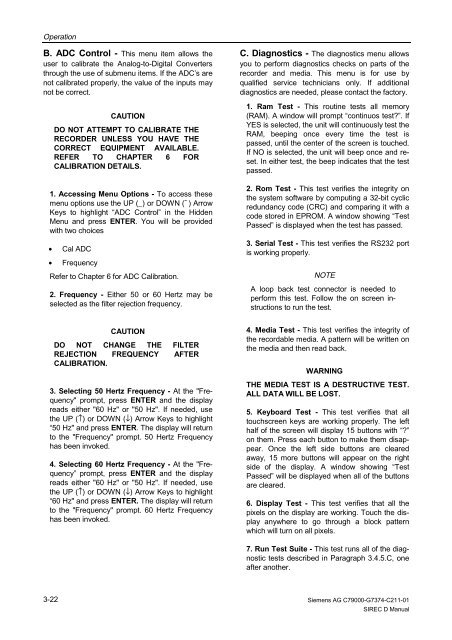
B. ADC Control - This menu item allows the<br />
user to calibrate the Analog-to-Digital Converters<br />
through the use of submenu items. If the ADC’s are<br />
not calibrated properly, the value of the inputs may<br />
not be correct.<br />
3-22<br />
CAUTION<br />
DO NOT ATTEMPT TO CALIBRATE THE<br />
RECORDER UNLESS YOU HAVE THE<br />
CORRECT EQUIPMENT AVAILABLE.<br />
REFER TO CHAPTER 6 FOR<br />
CALIBRATION DETAILS.<br />
1. Accessing Menu Options - To access these<br />
menu options use the UP (_) or DOWN (¯ ) Arrow<br />
Keys to highlight “ADC Control” in the Hidden<br />
Menu and press ENTER. You will be provided<br />
with two choices<br />
• Cal ADC<br />
• Frequency<br />
Refer to Chapter 6 for ADC Calibration.<br />
2. Frequency - Either 50 or 60 Hertz may be<br />
selected as the filter rejection frequency.<br />
DO NOT<br />
CAUTION<br />
CHANGE THE FILTER<br />
REJECTION<br />
CALIBRATION.<br />
FREQUENCY AFTER<br />
3. Selecting 50 Hertz Frequency - At the "Frequency"<br />
prompt, press ENTER and the display<br />
reads either "60 Hz" or "50 Hz". If needed, use<br />
the UP (↑) or DOWN (↓) Arrow Keys to highlight<br />
“50 Hz" and press ENTER. The display will return<br />
to the "Frequency" prompt. 50 Hertz Frequency<br />
has been invoked.<br />
4. Selecting 60 Hertz Frequency - At the "Frequency”<br />
prompt, press ENTER and the display<br />
reads either "60 Hz" or "50 Hz". If needed, use<br />
the UP (↑) or DOWN (↓) Arrow Keys to highlight<br />
“60 Hz" and press ENTER. The display will return<br />
to the "Frequency" prompt. 60 Hertz Frequency<br />
has been invoked.<br />
C. Diagnostics - The diagnostics menu allows<br />
you to perform diagnostics checks on parts of the<br />
recorder and media. This menu is for use by<br />
qualified service technicians only. If additional<br />
diagnostics are needed, please contact the factory.<br />
1. Ram Test - This routine tests all memory<br />
(RAM). A window will prompt “continuos test?”. If<br />
YES is selected, the unit will continuously test the<br />
RAM, beeping once every time the test is<br />
passed, until the center of the screen is touched.<br />
If NO is selected, the unit will beep once and reset.<br />
In either test, the beep indicates that the test<br />
passed.<br />
2. Rom Test - This test verifies the integrity on<br />
the system software by computing a 32-bit cyclic<br />
redundancy code (CRC) and comparing it with a<br />
code stored in EPROM. A window showing “Test<br />
Passed” is displayed when the test has passed.<br />
3. Serial Test - This test verifies the RS232 port<br />
is working properly.<br />
NOTE<br />
A loop back test connector is needed to<br />
perform this test. Follow the on screen instructions<br />
to run the test.<br />
4. Media Test - This test verifies the integrity of<br />
the recordable media. A pattern will be written on<br />
the media and then read back.<br />
WARNING<br />
THE MEDIA TEST IS A DESTRUCTIVE TEST.<br />
ALL DATA WILL BE LOST.<br />
5. Keyboard Test - This test verifies that all<br />
touchscreen keys are working properly. The left<br />
half of the screen will display 15 buttons with “?”<br />
on them. Press each button to make them disappear.<br />
Once the left side buttons are cleared<br />
away, 15 more buttons will appear on the right<br />
side of the display. A window showing “Test<br />
Passed” will be displayed when all of the buttons<br />
are cleared.<br />
6. <strong>Display</strong> Test - This test verifies that all the<br />
pixels on the display are working. Touch the display<br />
anywhere to go through a block pattern<br />
which will turn on all pixels.<br />
7. Run Test Suite - This test runs all of the diagnostic<br />
tests described in Paragraph 3.4.5.C, one<br />
after another.<br />
Siemens AG C79000-G7374-C211-01<br />
<strong>SIREC</strong> D Manual


