

SIREC D Display Recorder 7ND4000
SIREC D Display Recorder 7ND4000
SIREC D Display Recorder 7ND4000

Erfolgreiche ePaper selbst erstellen
Machen Sie aus Ihren PDF Publikationen ein blätterbares Flipbook mit unserer einzigartigen Google optimierten e-Paper Software.
2.1 Program Operation<br />
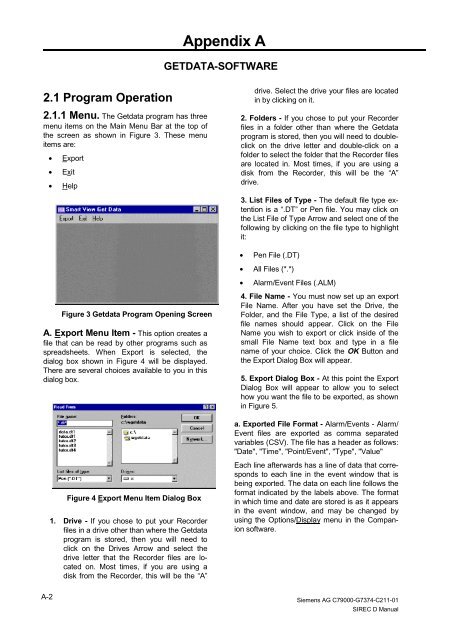
2.1.1 Menu. The Getdata program has three<br />
menu items on the Main Menu Bar at the top of<br />
the screen as shown in Figure 3. These menu<br />
items are:<br />
A-2<br />
• Export<br />
• Exit<br />
• Help<br />
Figure 3 Getdata Program Opening Screen<br />
A. Export Menu Item - This option creates a<br />
file that can be read by other programs such as<br />
spreadsheets. When Export is selected, the<br />
dialog box shown in Figure 4 will be displayed.<br />
There are several choices available to you in this<br />
dialog box.<br />
Figure 4 Export Menu Item Dialog Box<br />
1. Drive - If you chose to put your <strong>Recorder</strong><br />
files in a drive other than where the Getdata<br />
program is stored, then you will need to<br />
click on the Drives Arrow and select the<br />
drive letter that the <strong>Recorder</strong> files are located<br />
on. Most times, if you are using a<br />
disk from the <strong>Recorder</strong>, this will be the “A”<br />
Appendix A<br />
GETDATA-SOFTWARE<br />
drive. Select the drive your files are located<br />
in by clicking on it.<br />
2. Folders - If you chose to put your <strong>Recorder</strong><br />
files in a folder other than where the Getdata<br />
program is stored, then you will need to doubleclick<br />
on the drive letter and double-click on a<br />
folder to select the folder that the <strong>Recorder</strong> files<br />
are located in. Most times, if you are using a<br />
disk from the <strong>Recorder</strong>, this will be the “A”<br />
drive.<br />
3. List Files of Type - The default file type extention<br />
is a “.DT” or Pen file. You may click on<br />
the List File of Type Arrow and select one of the<br />
following by clicking on the file type to highlight<br />
it:<br />
• Pen File (.DT)<br />
• All Files (*.*)<br />
• Alarm/Event Files (.ALM)<br />
4. File Name - You must now set up an export<br />
File Name. After you have set the Drive, the<br />
Folder, and the File Type, a list of the desired<br />
file names should appear. Click on the File<br />
Name you wish to export or click inside of the<br />
small File Name text box and type in a file<br />
name of your choice. Click the OK Button and<br />
the Export Dialog Box will appear.<br />
5. Export Dialog Box - At this point the Export<br />
Dialog Box will appear to allow you to select<br />
how you want the file to be exported, as shown<br />
in Figure 5.<br />
a. Exported File Format - Alarm/Events - Alarm/<br />
Event files are exported as comma separated<br />
variables (CSV). The file has a header as follows:<br />
"Date", "Time", "Point/Event", "Type", "Value"<br />
Each line afterwards has a line of data that corresponds<br />
to each line in the event window that is<br />
being exported. The data on each line follows the<br />
format indicated by the labels above. The format<br />
in which time and date are stored is as it appears<br />
in the event window, and may be changed by<br />
using the Options/<strong>Display</strong> menu in the Companion<br />
software.<br />
Siemens AG C79000-G7374-C211-01<br />
<strong>SIREC</strong> D Manual


