SIREC D Display Recorder 7ND4000
SIREC D Display Recorder 7ND4000
SIREC D Display Recorder 7ND4000
Erfolgreiche ePaper selbst erstellen
Machen Sie aus Ihren PDF Publikationen ein blätterbares Flipbook mit unserer einzigartigen Google optimierten e-Paper Software.
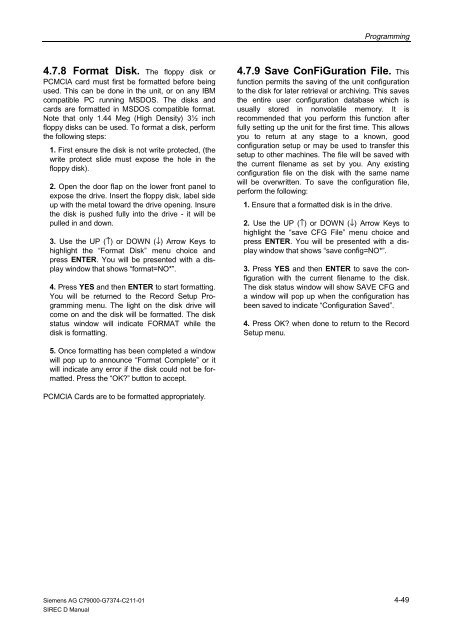
4.7.8 Format Disk. The floppy disk or<br />
PCMCIA card must first be formatted before being<br />
used. This can be done in the unit, or on any IBM<br />
compatible PC running MSDOS. The disks and<br />
cards are formatted in MSDOS compatible format.<br />
Note that only 1.44 Meg (High Density) 3½ inch<br />
floppy disks can be used. To format a disk, perform<br />
the following steps:<br />
1. First ensure the disk is not write protected, (the<br />
write protect slide must expose the hole in the<br />
floppy disk).<br />
2. Open the door flap on the lower front panel to<br />
expose the drive. Insert the floppy disk, label side<br />
up with the metal toward the drive opening. Insure<br />
the disk is pushed fully into the drive - it will be<br />
pulled in and down.<br />
3. Use the UP (↑) or DOWN (↓) Arrow Keys to<br />
highlight the “Format Disk” menu choice and<br />
press ENTER. You will be presented with a display<br />
window that shows “format=NO*”.<br />
4. Press YES and then ENTER to start formatting.<br />
You will be returned to the Record Setup Programming<br />
menu. The light on the disk drive will<br />
come on and the disk will be formatted. The disk<br />
status window will indicate FORMAT while the<br />
disk is formatting.<br />
5. Once formatting has been completed a window<br />
will pop up to announce “Format Complete” or it<br />
will indicate any error if the disk could not be formatted.<br />
Press the “OK?” button to accept.<br />
PCMCIA Cards are to be formatted appropriately.<br />
Siemens AG C79000-G7374-C211-01<br />
<strong>SIREC</strong> D Manual<br />
Programming<br />
4.7.9 Save ConFiGuration File. This<br />
function permits the saving of the unit configuration<br />
to the disk for later retrieval or archiving. This saves<br />
the entire user configuration database which is<br />
usually stored in nonvolatile memory. It is<br />
recommended that you perform this function after<br />
fully setting up the unit for the first time. This allows<br />
you to return at any stage to a known, good<br />
configuration setup or may be used to transfer this<br />
setup to other machines. The file will be saved with<br />
the current filename as set by you. Any existing<br />
configuration file on the disk with the same name<br />
will be overwritten. To save the configuration file,<br />
perform the following:<br />
1. Ensure that a formatted disk is in the drive.<br />
2. Use the UP (↑) or DOWN (↓) Arrow Keys to<br />
highlight the “save CFG File” menu choice and<br />
press ENTER. You will be presented with a display<br />
window that shows “save config=NO*”.<br />
3. Press YES and then ENTER to save the configuration<br />
with the current filename to the disk.<br />
The disk status window will show SAVE CFG and<br />
a window will pop up when the configuration has<br />
been saved to indicate “Configuration Saved”.<br />
4. Press OK? when done to return to the Record<br />
Setup menu.<br />
4-49


