

SIREC D Display Recorder 7ND4000
SIREC D Display Recorder 7ND4000
SIREC D Display Recorder 7ND4000

Erfolgreiche ePaper selbst erstellen
Machen Sie aus Ihren PDF Publikationen ein blätterbares Flipbook mit unserer einzigartigen Google optimierten e-Paper Software.
1.1 GENERAL INFORMA-<br />
TION AND INSTALLATION<br />
1.1.1 Purpose. The Getdata Software<br />
allows you to export files from the SmartView disk<br />
to a format compatible to spreadsheet programs.<br />
This software is to be run on PC Windows ® 3.1<br />
and Windows 95 ® /98 ® operating systems. You<br />
can export both Point and Alarm/Event files. The<br />
files produced be the <strong>Recorder</strong> are in MSDOS ®<br />
compatible format. The Windows ® File Manager<br />
can be used to copy, move, save, and/or rename<br />
the files.<br />
1.1.2 Installation. Installation on<br />
Windows ® 3.1 and Windows 95 ® operating<br />
systems is as follows:<br />
1. Insert the floppy disk into your PC computer<br />
disk drive.<br />
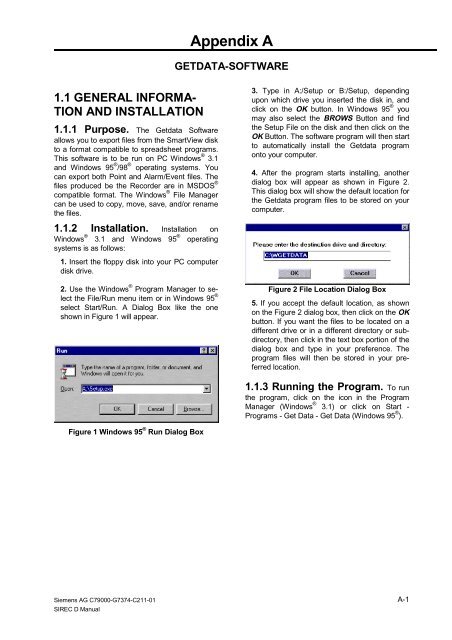
2. Use the Windows ® Program Manager to select<br />
the File/Run menu item or in Windows 95 ®<br />
select Start/Run. A Dialog Box like the one<br />
shown in Figure 1 will appear.<br />
Figure 1 Windows 95 ® Run Dialog Box<br />
Siemens AG C79000-G7374-C211-01<br />
<strong>SIREC</strong> D Manual<br />
Appendix A<br />
GETDATA-SOFTWARE<br />
3. Type in A:/Setup or B:/Setup, depending<br />
upon which drive you inserted the disk in, and<br />
click on the OK button. In Windows 95 ® you<br />
may also select the BROWS Button and find<br />
the Setup File on the disk and then click on the<br />
OK Button. The software program will then start<br />
to automatically install the Getdata program<br />
onto your computer.<br />
4. After the program starts installing, another<br />
dialog box will appear as shown in Figure 2.<br />
This dialog box will show the default location for<br />
the Getdata program files to be stored on your<br />
computer.<br />
Figure 2 File Location Dialog Box<br />
5. If you accept the default location, as shown<br />
on the Figure 2 dialog box, then click on the OK<br />
button. If you want the files to be located on a<br />
different drive or in a different directory or subdirectory,<br />
then click in the text box portion of the<br />
dialog box and type in your preference. The<br />
program files will then be stored in your preferred<br />
location.<br />
1.1.3 Running the Program. To run<br />
the program, click on the icon in the Program<br />
Manager (Windows ® 3.1) or click on Start -<br />
Programs - Get Data - Get Data (Windows 95 ® ).<br />
A-1


