SIREC D Display Recorder 7ND4000
SIREC D Display Recorder 7ND4000
SIREC D Display Recorder 7ND4000
Sie wollen auch ein ePaper? Erhöhen Sie die Reichweite Ihrer Titel.
YUMPU macht aus Druck-PDFs automatisch weboptimierte ePaper, die Google liebt.
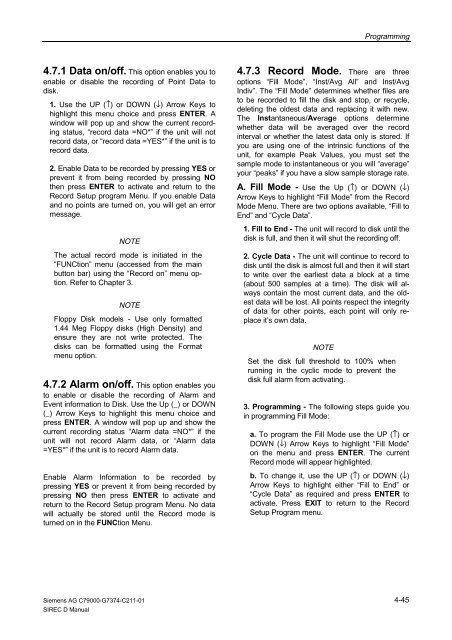
4.7.1 Data on/off. This option enables you to<br />
enable or disable the recording of Point Data to<br />
disk.<br />
1. Use the UP (↑) or DOWN (↓) Arrow Keys to<br />
highlight this menu choice and press ENTER. A<br />
window will pop up and show the current recording<br />
status, “record data =NO*” if the unit will not<br />
record data, or “record data =YES*” if the unit is to<br />
record data.<br />
2. Enable Data to be recorded by pressing YES or<br />
prevent it from being recorded by pressing NO<br />
then press ENTER to activate and return to the<br />
Record Setup program Menu. If you enable Data<br />
and no points are turned on, you will get an error<br />
message.<br />
NOTE<br />
The actual record mode is initiated in the<br />
“FUNCtion” menu (accessed from the main<br />
button bar) using the “Record on” menu option.<br />
Refer to Chapter 3.<br />
NOTE<br />
Floppy Disk models - Use only formatted<br />
1.44 Meg Floppy disks (High Density) and<br />
ensure they are not write protected. The<br />
disks can be formatted using the Format<br />
menu option.<br />
4.7.2 Alarm on/off. This option enables you<br />
to enable or disable the recording of Alarm and<br />
Event information to Disk. Use the Up (_) or DOWN<br />
(_) Arrow Keys to highlight this menu choice and<br />
press ENTER. A window will pop up and show the<br />
current recording status “Alarm data =NO*” if the<br />
unit will not record Alarm data, or “Alarm data<br />
=YES*” if the unit is to record Alarm data.<br />
Enable Alarm Information to be recorded by<br />
pressing YES or prevent it from being recorded by<br />
pressing NO then press ENTER to activate and<br />
return to the Record Setup program Menu. No data<br />
will actually be stored until the Record mode is<br />
turned on in the FUNCtion Menu.<br />
Siemens AG C79000-G7374-C211-01<br />
<strong>SIREC</strong> D Manual<br />
Programming<br />
4.7.3 Record Mode. There are three<br />
options “Fill Mode”, “Inst/Avg All” and Inst/Avg<br />
Indiv”. The “Fill Mode” determines whether files are<br />
to be recorded to fill the disk and stop, or recycle,<br />
deleting the oldest data and replacing it with new.<br />
The Instantaneous/Average options determine<br />
whether data will be averaged over the record<br />
interval or whether the latest data only is stored. If<br />
you are using one of the intrinsic functions of the<br />
unit, for example Peak Values, you must set the<br />
sample mode to instantaneous or you will “average”<br />
your “peaks” if you have a slow sample storage rate.<br />
A. Fill Mode - Use the Up (↑) or DOWN (↓)<br />
Arrow Keys to highlight “Fill Mode” from the Record<br />
Mode Menu. There are two options available, “Fill to<br />
End” and “Cycle Data”.<br />
1. Fill to End - The unit will record to disk until the<br />
disk is full, and then it will shut the recording off.<br />
2. Cycle Data - The unit will continue to record to<br />
disk until the disk is almost full and then it will start<br />
to write over the earliest data a block at a time<br />
(about 500 samples at a time). The disk will always<br />
contain the most current data, and the oldest<br />
data will be lost. All points respect the integrity<br />
of data for other points, each point will only replace<br />
it’s own data.<br />
NOTE<br />
Set the disk full threshold to 100% when<br />
running in the cyclic mode to prevent the<br />
disk full alarm from activating.<br />
3. Programming - The following steps guide you<br />
in programming Fill Mode:<br />
a. To program the Fill Mode use the UP (↑) or<br />
DOWN (↓) Arrow Keys to highlight “Fill Mode”<br />
on the menu and press ENTER. The current<br />
Record mode will appear highlighted.<br />
b. To change it, use the UP (↑) or DOWN (↓)<br />
Arrow Keys to highlight either “Fill to End” or<br />
“Cycle Data” as required and press ENTER to<br />
activate. Press EXIT to return to the Record<br />
Setup Program menu.<br />
4-45


