

Bravo & Brava • 1995 To 2000
Bravo & Brava • 1995 To 2000
Bravo & Brava • 1995 To 2000

Create successful ePaper yourself
Turn your PDF publications into a flip-book with our unique Google optimized e-Paper software.
Seat belts and seats<br />
Note: The following checks are applicable to<br />
all seat belts, front and rear.<br />
<strong>•</strong> Examine the webbing of all the belts<br />
(including rear belts if fitted) for cuts, serious<br />
fraying or deterioration. Fasten and unfasten<br />
each belt to check the buckles. If applicable,<br />
check the retracting mechanism. Check the<br />
security of all seat belt mountings accessible<br />
from inside the vehicle.<br />
<strong>•</strong> Seat belts with pre-tensioners, once<br />
activated, have a "flag" or similar showing on<br />
the seat belt stalk. This, in itself, is not a<br />
reason for test failure.<br />
<strong>•</strong> The front seats themselves must be<br />
securely attached and the backrests must<br />
lock in the upright position.<br />
Doors<br />
<strong>•</strong> Both front doors must be able to be opened<br />
and closed from outside and inside, and must<br />
latch securely when closed.<br />
Mm Checks carried out<br />
WITH THE VEHICLE ON THE<br />
GROUND<br />
Vehicle identification<br />
<strong>•</strong> Number plates must be in good condition,<br />
secure and legible, with letters and numbers<br />
correctly spaced - spacing at (A) should be at<br />
least twice that at (B).<br />
47 HY<br />
<strong>•</strong> The VIN plate and/or homologation plate<br />
must be legible.<br />
Electrical equipment<br />
<strong>•</strong> Switch on the ignition and check the<br />
operation of the horn.<br />
<strong>•</strong> Check the windscreen washers and wipers,<br />
examining the wiper blades; renew damaged<br />
or perished blades. Also check the operation<br />
of the stop-lights.<br />
<strong>•</strong> Check the operation of the sidelights and<br />
number plate lights. The lenses and reflectors<br />
must be secure, clean and undamaged.<br />
<strong>•</strong> Check the operation and alignment of the<br />
headlights. The headlight reflectors must not<br />
be tarnished and the lenses must be<br />
undamaged.<br />
<strong>•</strong> Switch on the ignition and check the<br />
operation of the direction indicators (including<br />
the instrument panel tell-tale) and the hazard<br />
warning lights. Operation of the sidelights and<br />
stop-lights must not affect the indicators - if it<br />
does, the cause is usually a bad earth at the<br />
rear light cluster.<br />
<strong>•</strong> Check the operation of the rear foglight(s),<br />
including the warning light on the instrument<br />
panel or in the switch.<br />
<strong>•</strong> The ABS warning light must illuminate in<br />
accordance with the manufacturers' design.<br />
For most vehicles, the ABS warning light<br />
should illuminate when the ignition is switched<br />
on, and (if the system is operating properly)<br />
extinguish after a few seconds. Refer to the<br />
owner's handbook.<br />
Footbrake<br />
<strong>•</strong> Examine the master cylinder, brake pipes<br />
and servo unit for leaks, loose mountings,<br />
corrosion or other damage.<br />
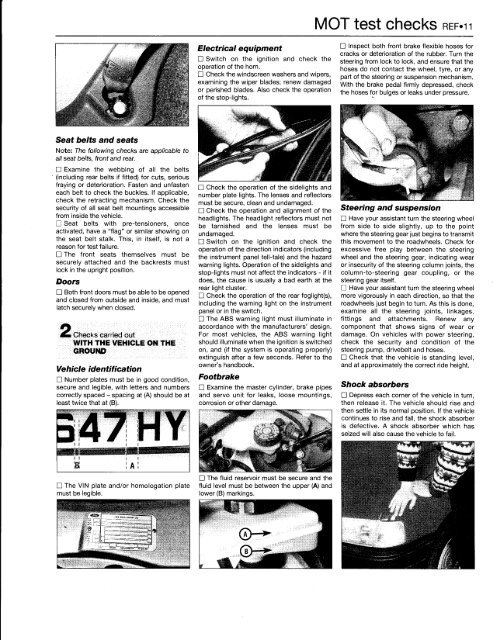
<strong>•</strong> The fluid reservoir must be secure and the<br />
fluid level must be between the upper (A) and<br />
lower (B) markings.<br />
MOT test checks REF»11<br />
<strong>•</strong> Inspect both front brake flexible hoses for<br />
cracks or deterioration of the rubber. Turn the<br />
steering from lock to lock, and ensure that the<br />
hoses do not contact the wheel, tyre, or any<br />
part of the steering or suspension mechanism.<br />
With the brake pedal firmly depressed, check<br />
the hoses for bulges or leaks under pressure.<br />
Steering and suspension<br />
<strong>•</strong> Have your assistant turn the steering wheel<br />
from side to side slightly, up to the point<br />
where the steering gear just begins to transmit<br />
this movement to the roadwheels. Check for<br />
excessive free play between the steering<br />
wheel and the steering gear, indicating wear<br />
or insecurity of the steering column joints, the<br />
column-to-steering gear coupling, or the<br />
steering gear itself.<br />
<strong>•</strong> Have your assistant turn the steering wheel<br />
more vigorously in each direction, so that the<br />
roadwheels just begin to turn. As this is done,<br />
examine all the steering joints, linkages,<br />
fittings and attachments. Renew any<br />
component that shows signs of wear or<br />
damage. On vehicles with power steering,<br />
check the security and condition of the<br />
steering pump, drivebelt and hoses.<br />
<strong>•</strong> Check that the vehicle is standing level,<br />
and at approximately the correct ride height.<br />
Shock absorbers<br />
<strong>•</strong> Depress each corner of the vehicle in turn,<br />
then release it. The vehicle should rise and<br />
then settle in its normal position. If the vehicle<br />
continues to rise and fall, the shock absorber<br />
is defective. A shock absorber which has<br />
seized will also cause the vehicle to fail.


