

Bravo & Brava • 1995 To 2000
Bravo & Brava • 1995 To 2000
Bravo & Brava • 1995 To 2000

You also want an ePaper? Increase the reach of your titles
YUMPU automatically turns print PDFs into web optimized ePapers that Google loves.
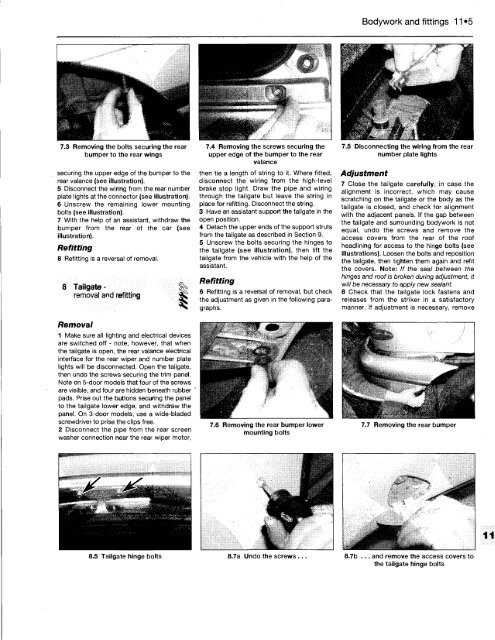
7.3 Removing the bolts securing the rear<br />
bumper to the rear wings<br />
securing the upper edge of the bumper to the<br />
rear valance (see illustration).<br />
5 Disconnect the wiring from the rear number<br />
plate lights at the connector (see illustration).<br />
6 Unscrew the remaining lower mounting<br />
bolts (see illustration).<br />
7 With the help of an assistant, withdraw the<br />
bumper from the rear of the car (see<br />
illustration).<br />
Refitting<br />
8 Refitting is a reversal of removal.<br />
8 Tailgate -<br />
removal and refitting S£<br />
Removal<br />
1 Make sure all lighting and electrical devices<br />
are switched off - note, however, that when<br />
the tailgate is open, the rear valance electrical<br />
interface for the rear wiper and number plate<br />
lights will be disconnected. Open the tailgate,<br />
then undo the screws securing the trim panel.<br />
Note on 5-door models that four of the screws<br />
are visible, and four are hidden beneath rubber<br />
pads. Prise out the buttons securing the panel<br />
to the tailgate lower edge, and withdraw the<br />
panel. On 3-door models, use a wide-bladed<br />
screwdriver to prise the clips free.<br />
2 Disconnect the pipe from the rear screen<br />
washer connection near the rear wiper motor,<br />
8.5 Tailgate hinge bolts<br />
7.4 Removing the screws securing the<br />
upper edge of the bumper to the rear<br />
valance<br />
then tie a length of string to it. Where fitted,<br />
disconnect the wiring from the high-level<br />
brake stop light. Draw the pipe and wiring<br />
through the tailgate but leave the string in<br />
place for refitting. Disconnect the string.<br />
3 Have an assistant support the tailgate in the<br />
open position.<br />
4 Detach the upper ends of the support struts<br />
from the tailgate as described in Section 9.<br />
5 Unscrew the bolts securing the hinges to<br />
the tailgate (see illustration), then lift the<br />
tailgate from the vehicle with the help of the<br />
assistant.<br />
Refitting<br />
6 Refitting is a reversal of removal, but check<br />
the adjustment as given in the following paragraphs.<br />
7.6 Removing the rear bumper lower<br />
mounting bolts<br />
8.7a Undo the screws ...<br />
Bodywork and fittings 11 »5<br />
7.5 Disconnecting the wiring from the rear<br />
number plate lights<br />
Adjustment<br />
7 Close the tailgate carefully, in case the<br />
alignment is incorrect, which may cause<br />
scratching on the tailgate or the body as the<br />
tailgate is closed, and check for alignment<br />
with the adjacent panels. If the gap between<br />
the tailgate and surrounding bodywork is not<br />
equal, undo the screws and remove the<br />
access covers from the rear of the roof<br />
headlining for access to the hinge bolts (see<br />
illustrations). Loosen the bolts and reposition<br />
the tailgate, then tighten them again and refit<br />
the covers. Note: If the seal between the<br />
hinges and roof is broken during adjustment, it<br />
will be necessary to apply new sealant.<br />
8 Check that the tailgate lock fastens and<br />
releases from the striker in a satisfactory<br />
manner. If adjustment is necessary, remove<br />
7.7 Removing the rear bumper<br />
8.7b ... and remove the access covers to<br />
the tailgate hinge bolts


